How to replace a wing tank in 236 easy steps:
Click on the thumbnails to enlarge.
We needed to replace a wing tank because the existing steel tank
was leaking. For easy access, we removed the wing. A replacement tank had been
sourced through the Taylorcraft email
list. Thanks, Greg.
Equipment required:
2 padded wing trestles
4 steel rods (see text)
Length of rope to tie up struts, or additional trestle
Lots of helping hands for the wing removal
New fuel fittings if required
New fabric and covering supplies.
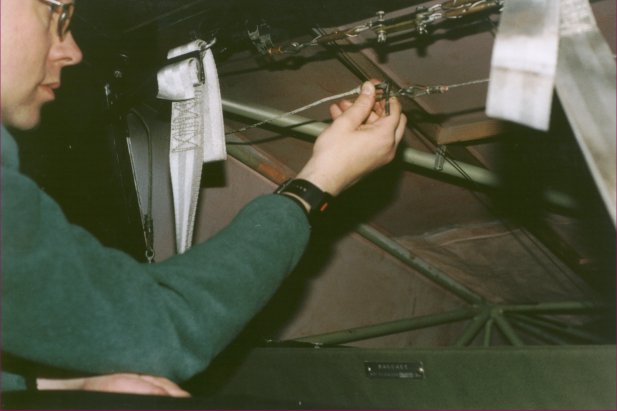
Wing removal: Disconnect the fuel
connections in the wing root and the two aileron cables behind the headliner. [Note, the
eyelet ends of the cable would not pass through the fairleads...we crimped the ends a wee
bit and they passed through!].
| Prepare some 6mm (or 1/4")
diameter steel rods (2 off 14" long for the root, 2 off 3" long for the struts)
to use when pulling the wing root and strut bolts out, use the rods to push the
bolts out, the rods retain the wing on the fuselage. When you're ready with some help to
drop the wing (and later replace it), the rods are easier to pull out quickly. |
 |
 |
You don't need to support the other wing
when you remove the "defective" wing...she will be quite happy on her own gear
with only one wing, but you need to tie up the struts of the removed wing to stop them
hitting the ground; you can then wheel her about if necessary (or you can remove the lower
strut attachment bolt and remove the struts completely). Also, the the two spar end
attachment fitting are NOT in line on purpose, so don't worry about any apparent
misalignment. |
| Place the wing "correct side up"
on some padded trestles. |
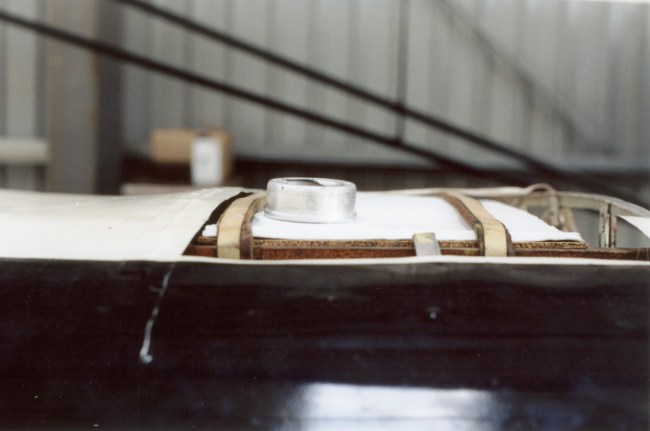
| Wing tank removal and refitting: Cut
away the fabric from the butt rib and the first bay, leaving the original row of stitching
on the first rib, and about an inch of the first bay fabric. Here we see the original
tank still in place and the bay fabric removed, but not yet the butt rib fabric. |
  |
|
|
| Open up the two inspection
panels in the third bay, where the spar bracing wires that pass through the tank attach to
the compression strut. This allows access to the interior ends of the two wires.
These wires are a pain to remove, but with some effort can be removed through the butt rib
without having to remove further fabric. |
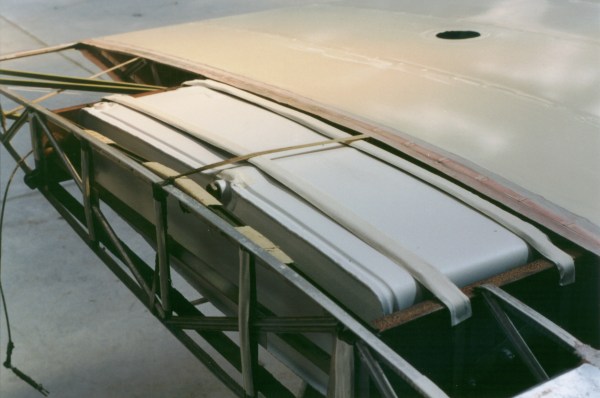
| Replace the fabric in accordance with the
relevant manual/procedure.The photos show the wing turned over to clean the fabric of the
first rib of all paint (using MEK...this is covered in Stitts Poly-Fiber). I chose to
leave the existing stitches in the first rib, this ensured the fabric in the second bay
remained tight. I placed a new row of stitches between this existing row, using
another layer of reinforcing tape and taking care to avoid the two spars. VERY
IMPORTANT!: ensure the aileron cables are taut when stitching to ensure they follow the
correct path inside the wing. Otherwise after stitching, they will be prevented from
aligning correctly by the stitches. You can also see in the lower photo one of the
inspection holes cut open on the underside of the wing. |

 |
| With stamped ribs, I guess you'd
have to pull the wire fabric clips off and replace after renewing the fabric, but how you
keep the second bay fabric taut, I don't know. |
 |
 |
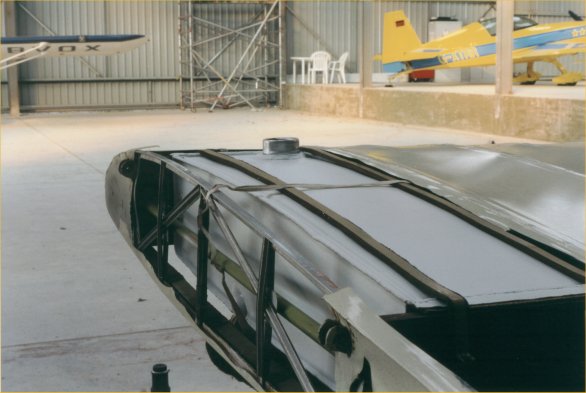
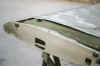
Shrink the fabric, seal, spray etc, whatever
your process requires. Here we see the top and bottom fabric applied and heat-shrunk.
Note the doily awaiting affixing over the fuel filler. The white epoxy
painted tank is clearly visible through the fabric. |
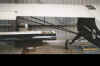
Following heat shrinking, a first brush coat of
Poly-Brush is applied, then tapes are applied where required. Put fabric patches where the fuel connection and aileron cables are
going to pass through the butt fabric and where the drain valve will poke out below the
wing. I burned small holes with a soldering iron (later enlarged) before painting
to ensure I could find the correct location after the paint was applied.
Yes, that is a Falco upside-down in the background, undergoing a respray. |
 |
 |
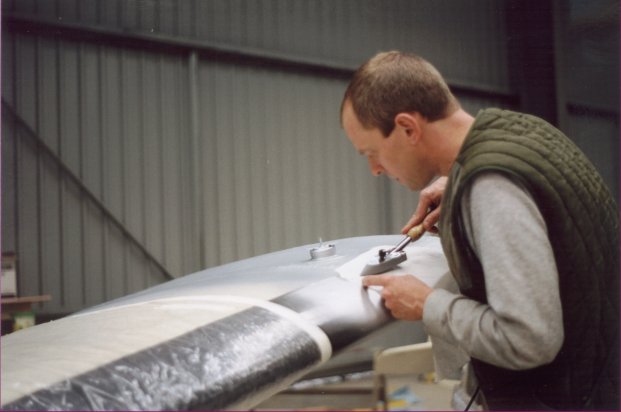
After spraying the UV-protecting coats of
Poly-Spray, the last loose pinked tape ears are smoothed down, using grease-proof paper to
stop the iron sticking and picking up the Poly-Spray. |
| Some sanding of the aluminium coat is required
to get a good smooth finish. |
 |
 |
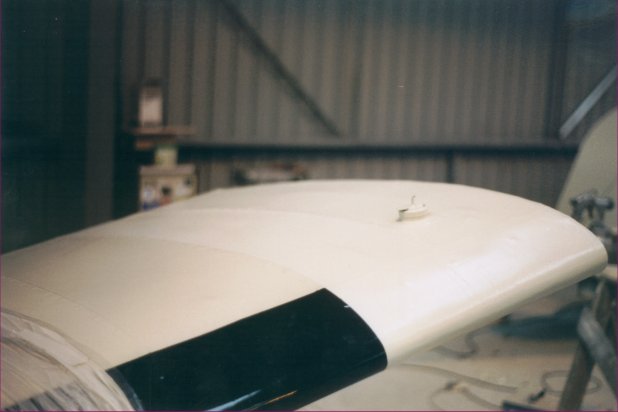
One last coat of aluminium Poly-Spray is
applied after the last sanding is done, to ensure UV cannot reach the fabric. Note
the two strings to pull the aileron cables through after all painting is complete. |
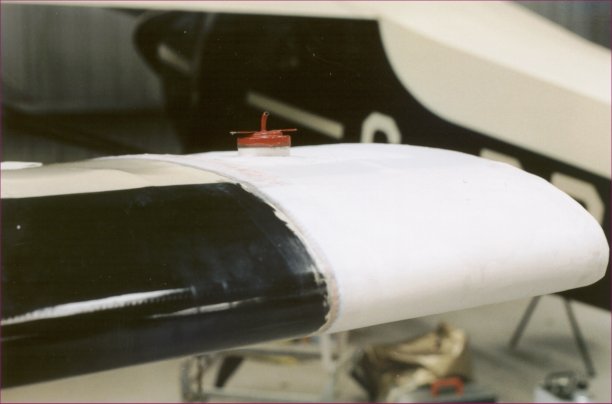
| Top colour now applied, but awaiting the black
paint for the leading edge. Note, the fuel filler cap will be bead blasted and
painted red. Don't
forget to put in new drain holes in the underside of the trailing edge. |
 |
| Replace the wing, again calling upon your
many friends to help lift it into position. Use the same steel rods to get the
initial alignment. Each rod can then be pushed out by the appropriate bolt. |
| Re-connect the aileron cables, fuel pipe, get
her inspected and then fuel her up, check for leaks and go fly! |
 |
Taylorcraft.org.uk home
page