
NOTE: the outer blue line marks the INNER diameter of the new ring, so the inner diameter is about 1/2" inside that.


BRPX rib repair
Click on the thumbnails to enlarge,
use the browser's Back button to go back.
Note: this procedure applies for an additional inspection ring, not the details of repairing the broken rib, so give the photos the latitude required!
|
Mark location of new inspection ring, using
ring as template. NOTE: the outer blue line marks the INNER diameter of the new ring, so the inner diameter is about 1/2" inside that. |
|
Cut innermost circle out, and insert the inspection ring appropriately glued-up. |
|
After the glue has dried, cut radially (Star-Cut) to the outer blue line (i.e. the inside diameter of the ring). |
|
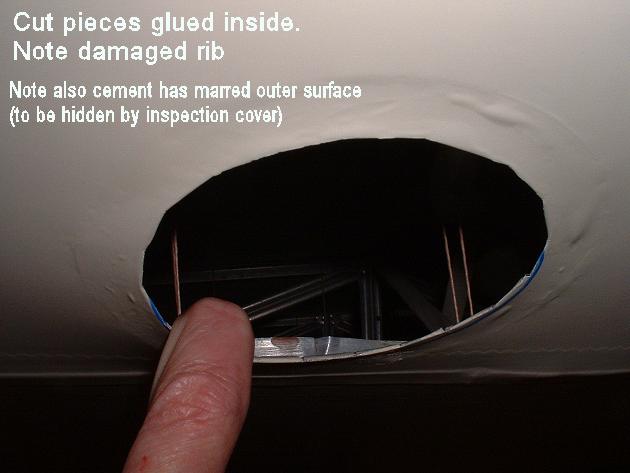
Glue each piece over onto the top of the ring, and press down until the glue had dried. |
Hey Presto! One new inspection ring aperture.
Click on the thumbnails to enlarge, use the browser's Back button to go back.