My Taylorcraft
restoration project, G-BREY
Page 8, March 2006 - present
Go to page 1 2 3 4 5 6 7 8
by Robert Lees
Click on the thumbnails to
enlarge, use the browser's Back button to go back.
Feb and March 2006:
 |
I have got as far as I can without assembling
the wings onto the fuselage, so after collecting the fuselage from my house... |
 |
...and the wings from storage... |
 |
..they are delivered to the airport for
assembly. |
|
|
 |
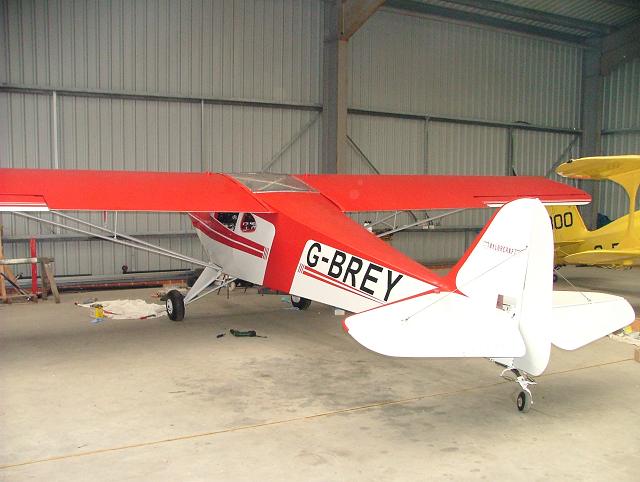
New bungees are installed... |
 |
...and she can sit on her own legs at last. |
 |
I now have an empty workshop! |
 |
With the wings on, I can fabricate the fuel lines from the
wing tanks to the fuselage header tank. |
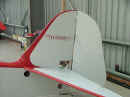 |
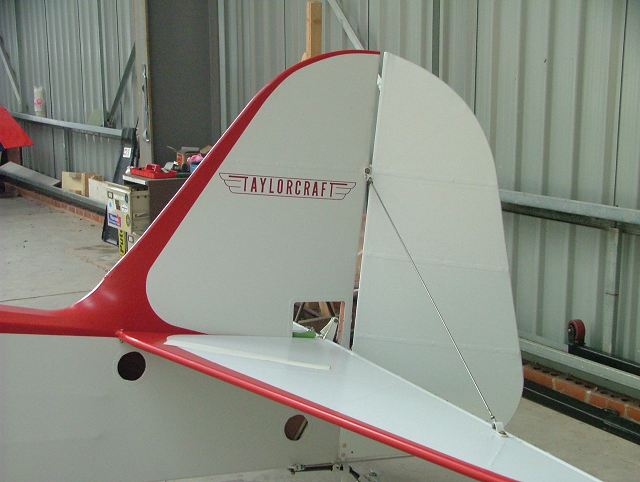
Tailfeathers go on. I had a friend make up some
Taylorcraft logos for the tail to match the colour. |
 |
The aileron hinges are bolted on ready for hanging. |
 |
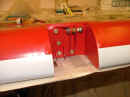
The H-frame is assembled up (this photo shows bump-stops
attached to the fuselage frame). |
 |
To nail the boot cowl to the door frame, I protect the
painted surfaces with masking tape to eliminate ham-fisted hammer marks. |
April & May 2006
 |
 |
The new interior goes in. |
|
 |
 |
 |
Things are starting to come together now. |
 |
 |
 |
Borrowed scales are used to do the weight
& balance. Empty weight comes out at 814lb, about 14lb less than before.
But I have added an extra wing tank plus skylight & leather upholstery, so I am
pleased. |
 |
Prior to the first engine run, I hold up the
tail while John injects oil into the oil temperature bulb housing, to prime the pump... |
 |
...and it starts first swing! |
 |
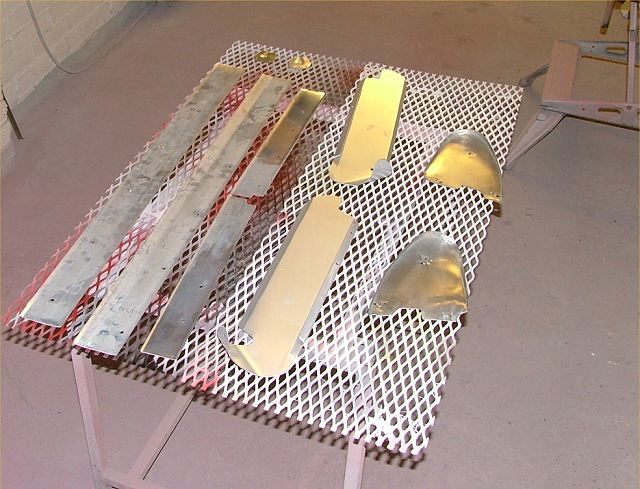
A surprising number of fairings still need to be made,
however. Here, the original wing root covers are being painted, along with new
fairings for the skylight and the screen door pillars. |
31 May 2006
 |
 |
 |
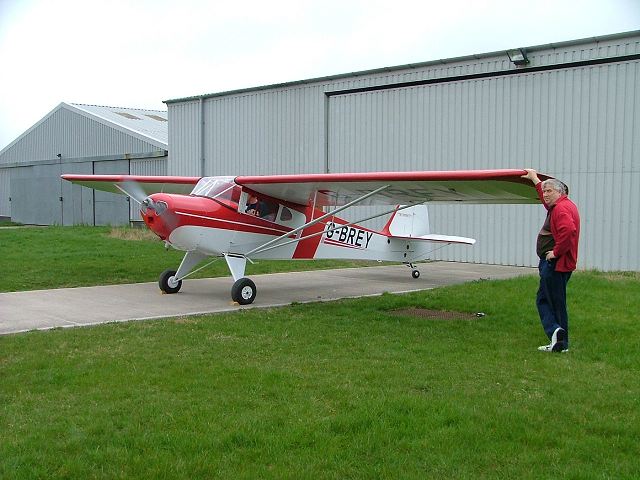
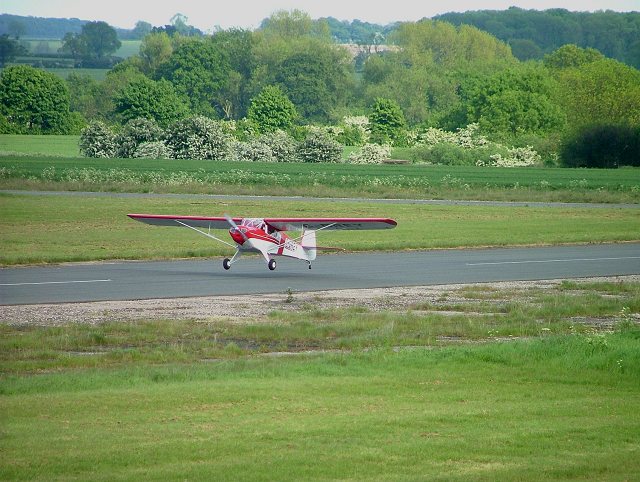
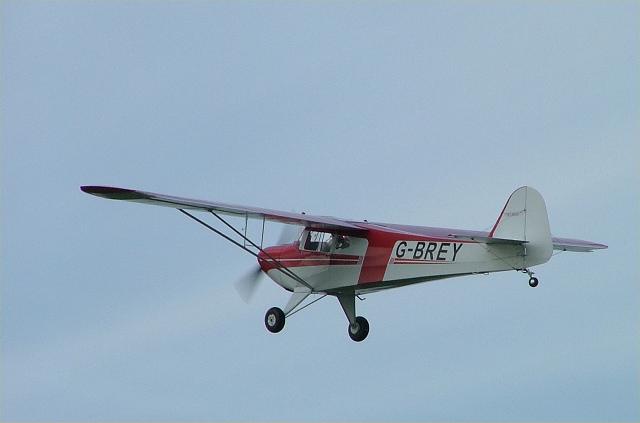
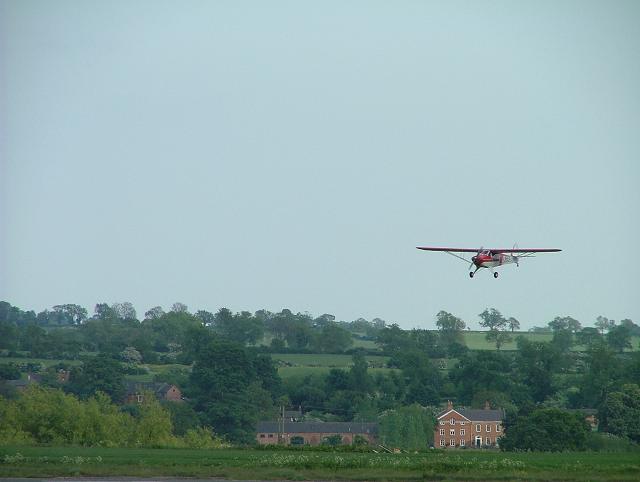
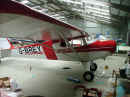
She flies after 4 1/2 years under a permit to test.
A great feeling! |
Go to page 1
2 3 4 5 6 7 8
A tally of my hours spent restoring is available here
Other restoration photos
Nosebowl Grille fitting
problems.
Taylorcraft.org.uk Home