My Taylorcraft
restoration project, G-BREY
Page 4, November 2003 - March 2004
Go to page 1 2 3 4 5 6 7 8
by Robert Lees
Click on the thumbnails to
enlarge, use the browser's Back button to go back.
November 2003
 |
 |
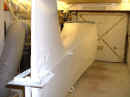
The first coat of white Poly-Tone goes on.
Boy, this stuff is a pleasure to spray. But bright lights are
needed to see the white covering the silver.
I added 30 ml of BR-86-00 retarder per UK pint to the mix (in fact I added it to the
aluminium Poly-spray too) to slow down the evaporative process. This increases the
gloss level. The measures are exactly as per the Poly-Fiber manual.
If I think I need more gloss, I will refrigerate the next (and last) coat. |
 |
 |
 |
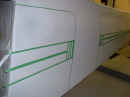
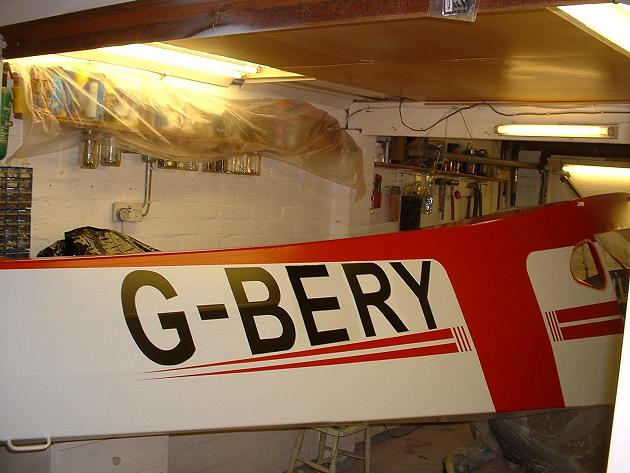
After spraying the second full coat of white, I
mask off for the red. I am using exactly the same paint scheme as she originally had
(see photo here) and using a lot of the original fabric to ensure
the trim lines come out in the right place.
Green fine line polypropylene tape is used to get the curves. |
 |
 |
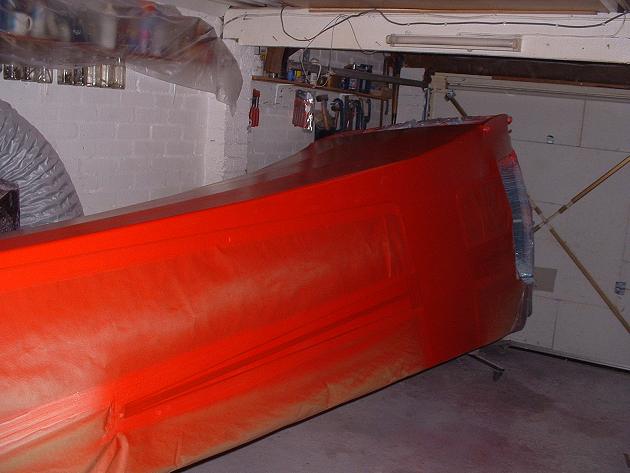
After masking, a fine mist coat of red is
applied, followed by the first full wet coat. |
 |
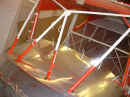
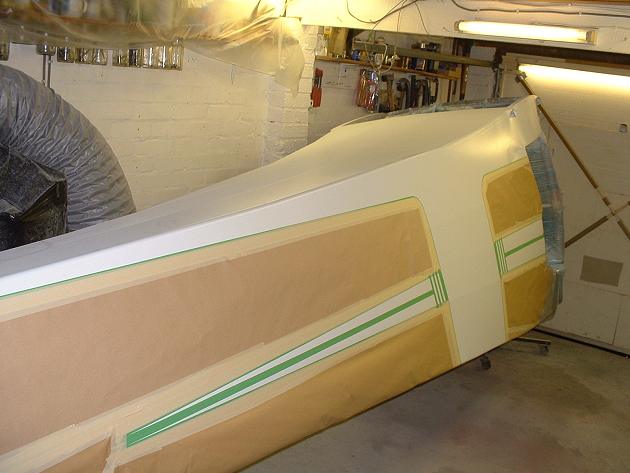
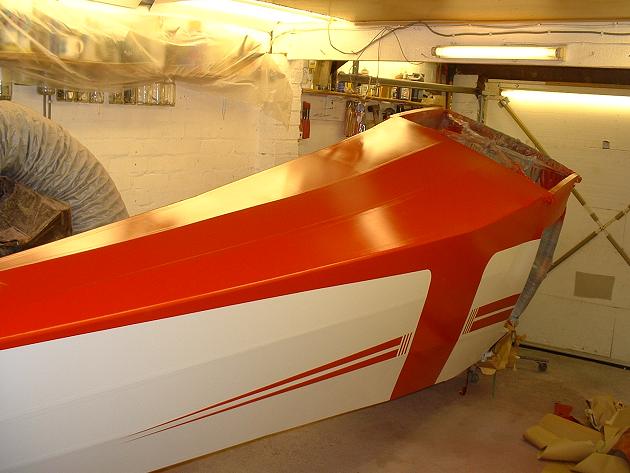
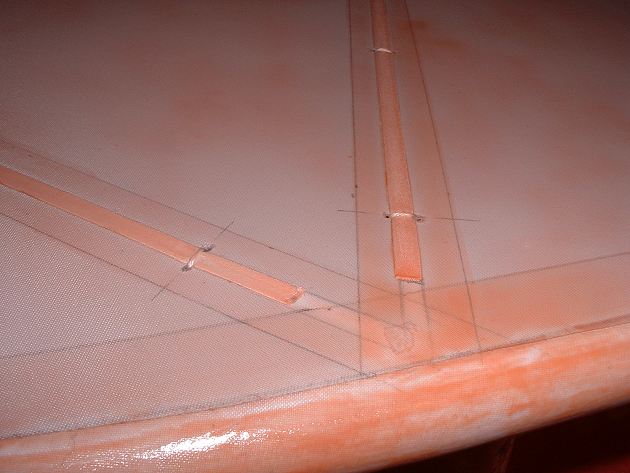
After a second coat of red, the masking can be
removed.
Whoever designed this trim scheme designed a clever scheme. The
horizontal paint line between the red on the top and the white on the sides extends
forward from (and in line with) the stabilisers, and aft from the line of the door
windows. These two non-parallel lines meet at and blend into the broad vertical
stripe.
The two pin stripes follow the longitudinal axis of the fuselage, and are not
parallel to either of the lines joining the red top and white sides. |
 |
 |
 |
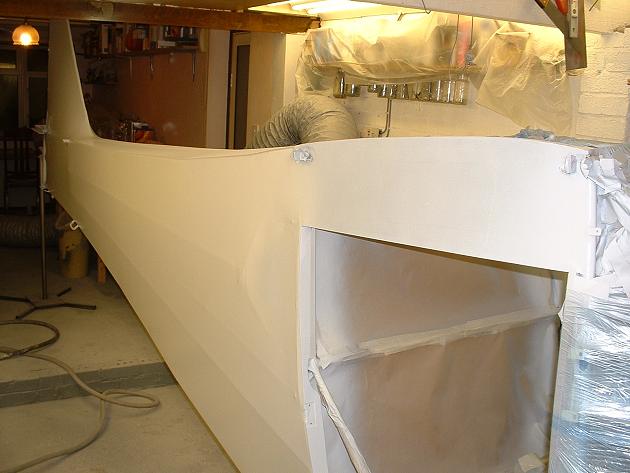
...and I can now cut out the fabric covering
the two rear D windows. |
 |
Belly is all white. |
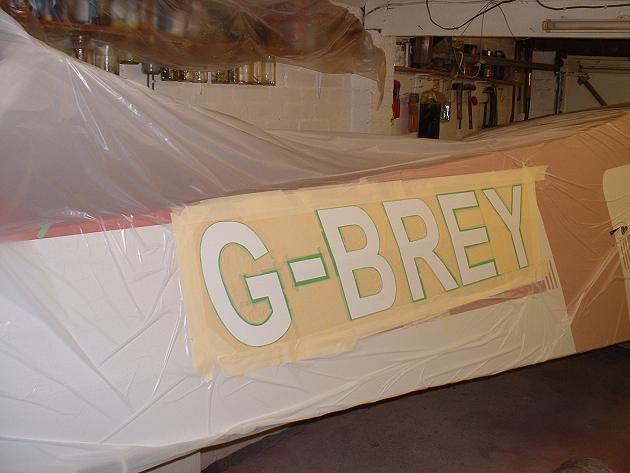
Registration letters done Jan 2004:
 |
The registration marks I mask by
hand because they are tapered and italic. For general use, there are commercial
outlets for spray masks. I used a computer to get the letter shapes right &
printed them onto A3 paper, which I then cut out and traced the lines on the fuselage.
The same green fine-line masking tape as before is used to get the
curves.
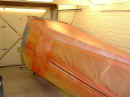
The remainder of the fuselage is covered in plastic sheeting. This is the
proper automotive, statically-charged sheeting. It sticks to the fabric, and all
dust then sticks to it. Excellent stuff. |
 |
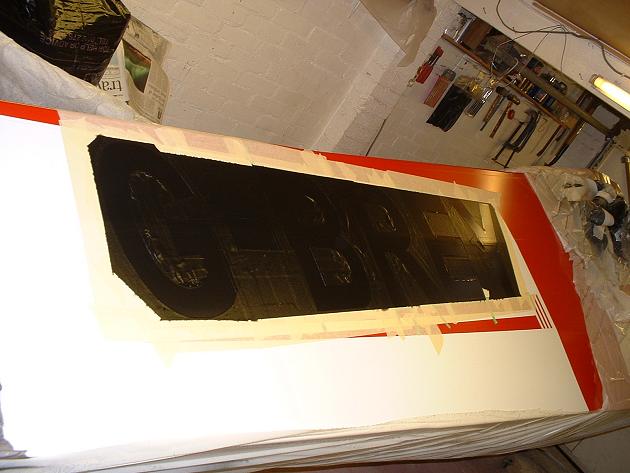
A spray mist-coat... |
 |
...followed by a full wet coat... |
 |
 |
...and the masking is removed while the paint
is still tacky to reveal the final effect. The whole masking/painting job took about
8 hours for both sides. |
Late November to December 2003,
undercarriage and stabilisers get covered.
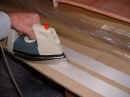 |
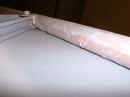
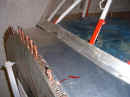
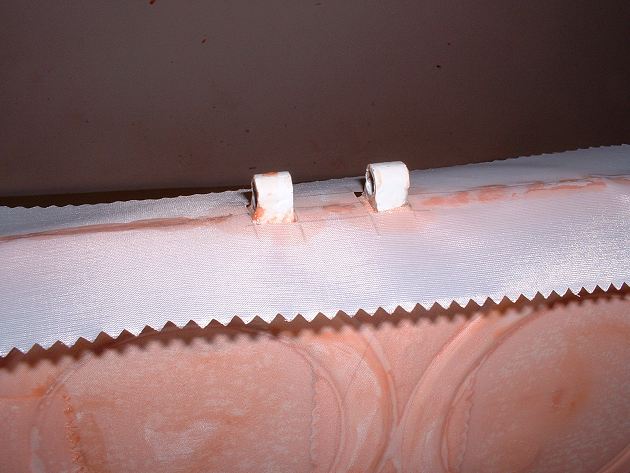
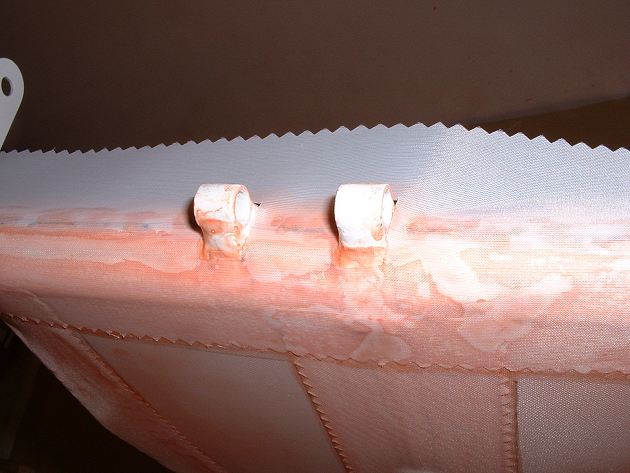
I have learned that the tapes can tend to leave
a "wood grain" effect after painting, so I decide to very gently iron them (at
about 200 F) to see if that smoothes them down a bit. Tapes are clamped each end.
I will let you know how they turn out.
[Edit: 2004: it didn't help, so I won't bother again] |
Undercarriage:
 |
 |
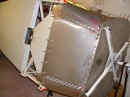
Undercarriage is covered. The only
matters of note here are that the fabric for the "inside" of the gear goes under
the wire... |
 |
 |
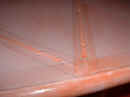
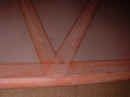
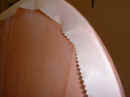
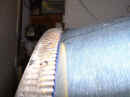
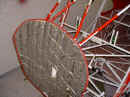
...and I use a pinch stitch to taughten the
fabric between the vees. This will stop the paint cracking down the
vertical legs due to drumming from the propeller slipstream. There is about a 3/4" gap between the two fabric surfaces. I have not bothered to cover the upper surface
that you see under the seat...save weight where you can. |
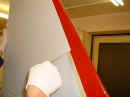
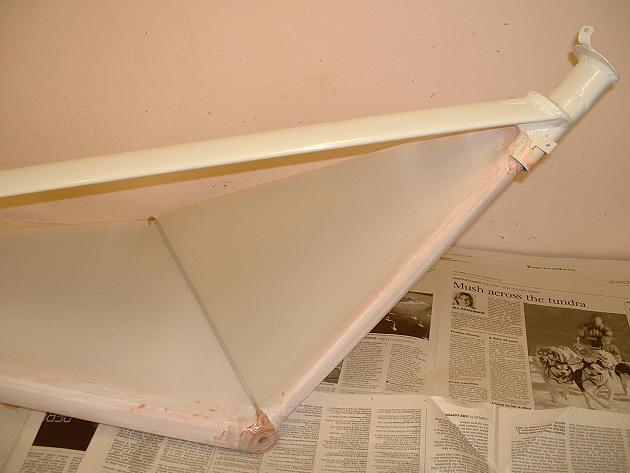
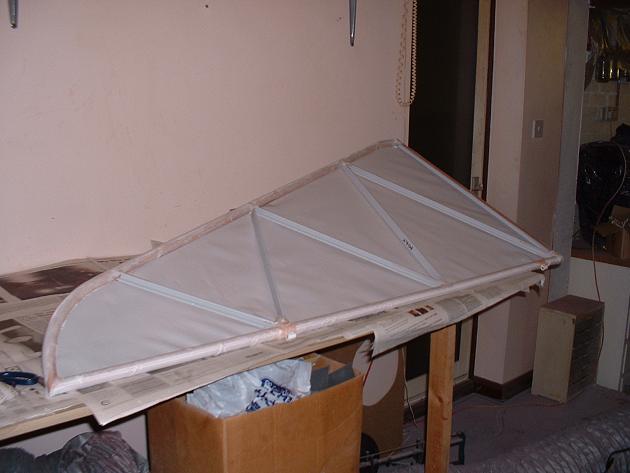
Stabilisers:
 |
The first side gets covered (I don't like the
"clam-shell" approach, I'd rather do each piece individually). |
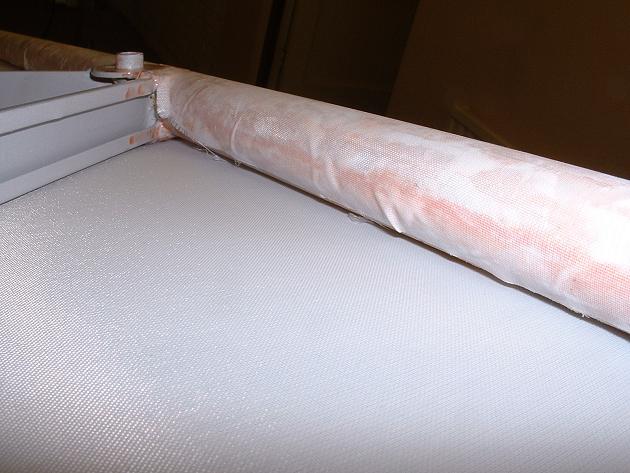
 |
Notice how far round the tube the fabric is
glued. |
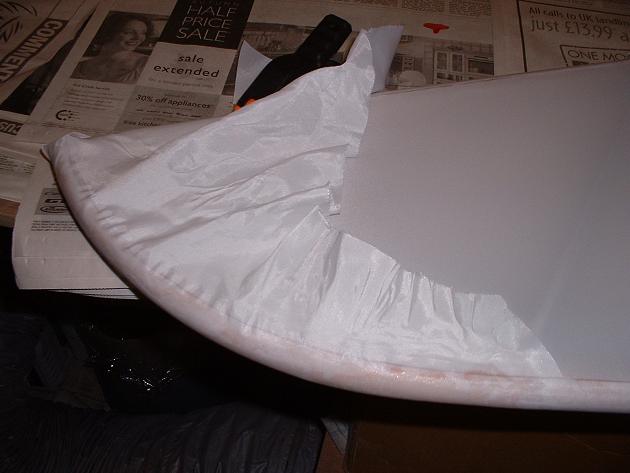
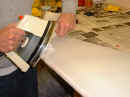 |
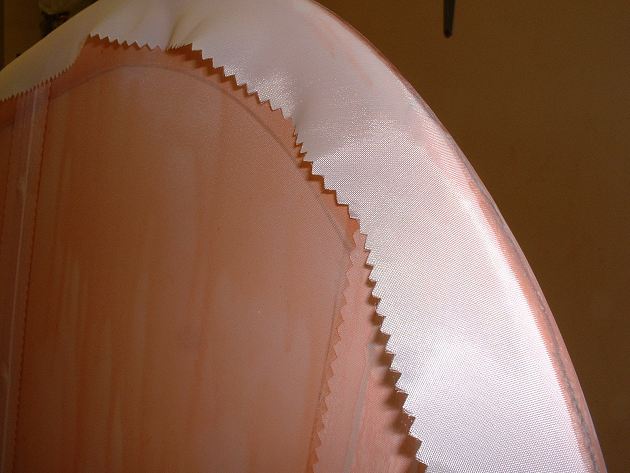
The curved edge is formed using a 250F iron
whilst pulling the fabric to shape. |
 |
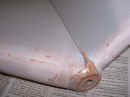
The fabric conforms to the bow, ready to be
trimmed then glued... |
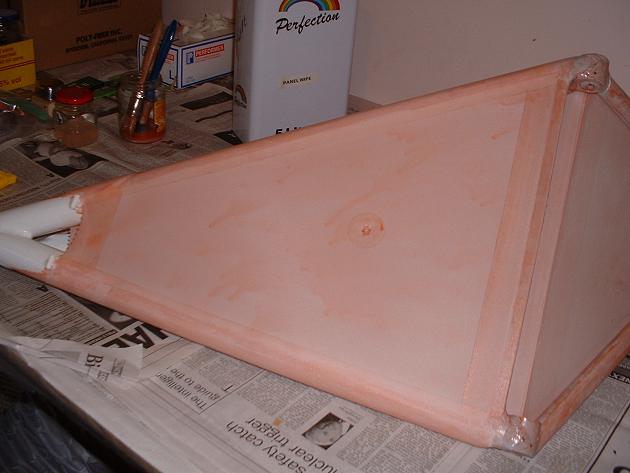
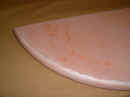 |
...and after pink goo-ing, here is the result. |
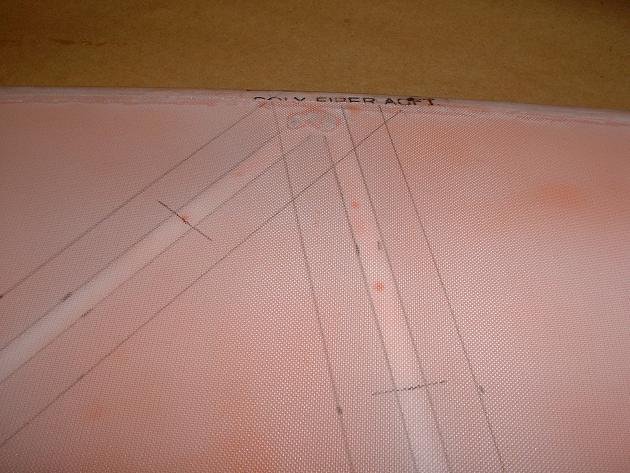
 |
Marking out where the stitches and trim tapes
will go. I will be using 4" spacing for the stitches... |
 |
...and the fabric is stitched on. |
 |
After taping, smoothing and applying the last
brush-coat of pink goo, the finished stabilisers are ready for spraying. |
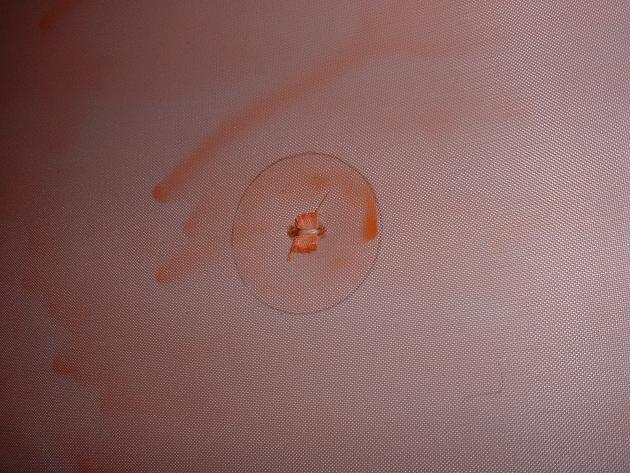
 |
All my drain grommets are the aluminium type. |
Elevators:
 |
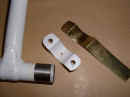
A small aluminium fairing (under the small
fabric patch) is used to lift the fabric slightly adjacent to the trim tab system, so as
to increase the clearance between the mechanism and the fabric. |
 |
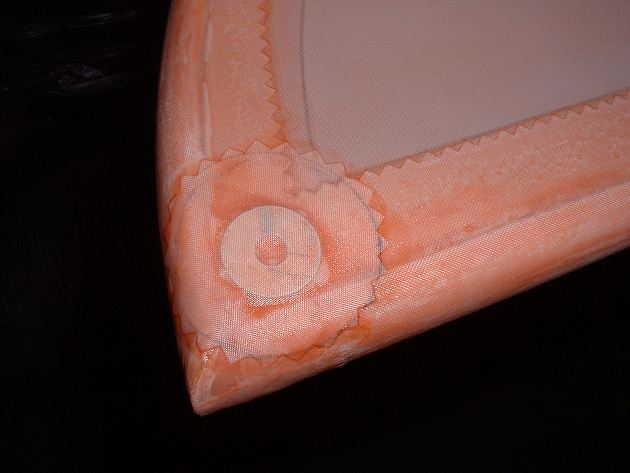
Inspection rings are glued (and later covered
with a doily) where access will be required for maintenance & lubrication of the trim
bellcrank. The black masking on the trim actuating arm will be removed after
spraying. |
 |
 |
 |
All the reinforcing tapes along the spines of
all the control surfaces were prepared and fixed in accordance with these three photos.
A small application of pink goo prevents the cut-outs from unravelling. |
Rudder:
 |
 |
I am using Light bias tape for the curved
portions. A pencil line is drawn down the spine of both the rudder and the tape, and
then the tape is attached only along the spine, with a little tension to start the laying
of the tape flat on each side.
After this thin line is dry, each side can then be laid flat with the application
of the Poly-Brush. No further heat shrinking required. |
 |
Here is the finished result...not too much
"shrinking" of the tape because I did not pull too much on the tape for the
shape. The thin weave of the Light tape lays flat on the sides nicely. |
Late January and early February 2004:
Bootcowl work:
 |
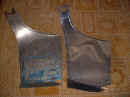
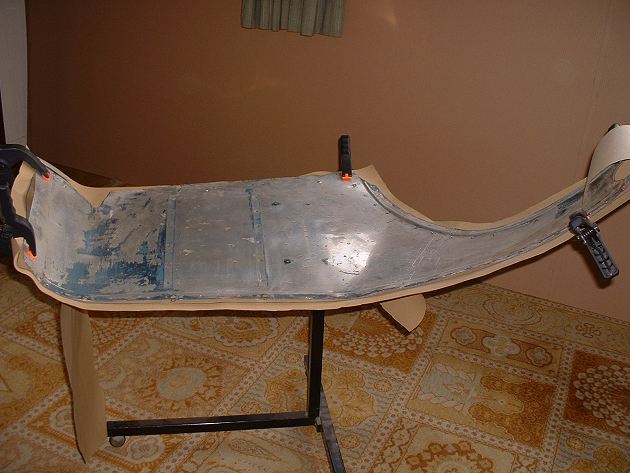
I make paper patterns of the boot cowl
pieces... |
 |
...to form new pieces from 0.025" 2024T3
sheet. |
 |
 |
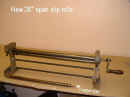 |
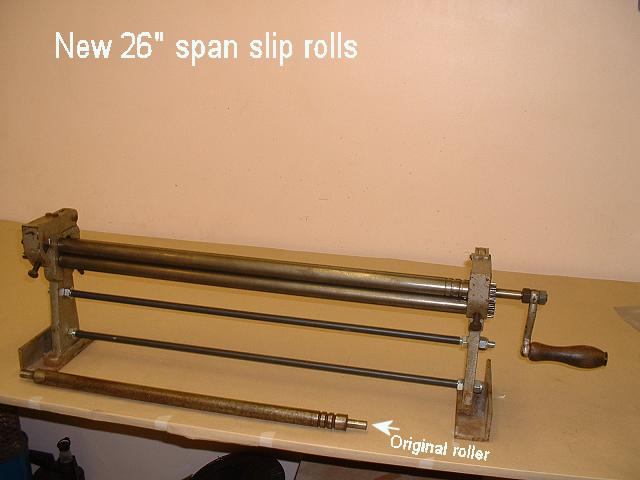
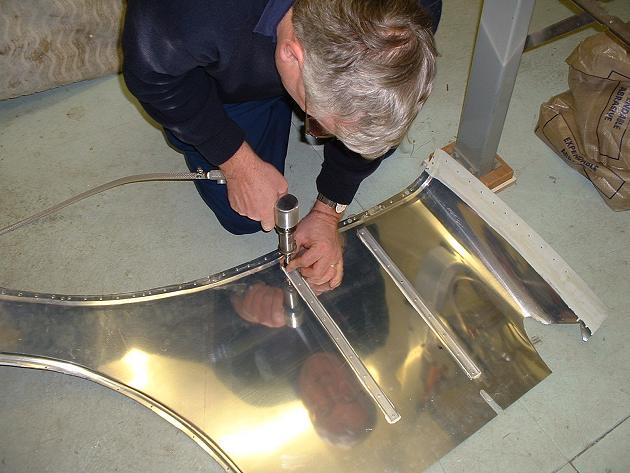
I use my extended slip rolls to form the
curves. I will also be using these to form the joggles & beads at the firewall
& windscreen respectively. |
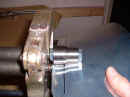 |
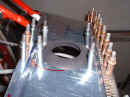
Here's the dies being used to form the firewall
joggle on the bootcowl... |
 |
...and the finished joggle ready for riveting. |
 |
 |
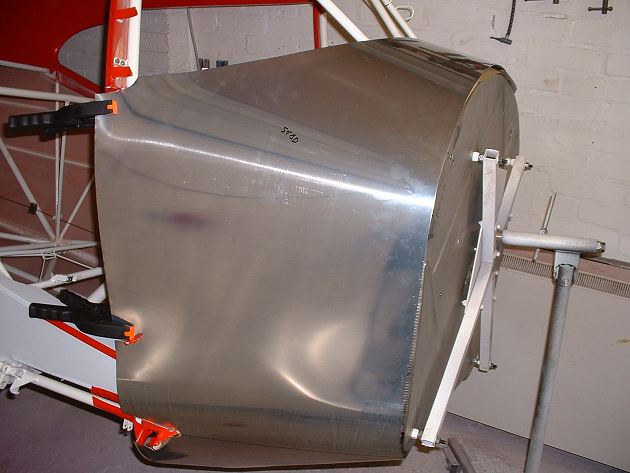
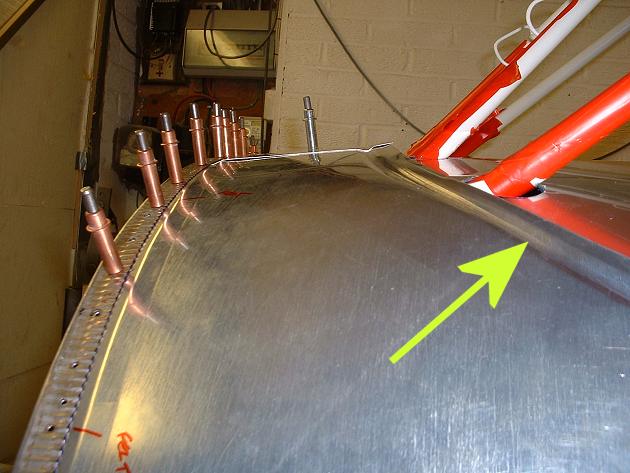
After clecoing up, a trial fit of the screen
and fillet strip goes relatively well...but still a bit of fettling to do. |
 |
Windscreen bead completed... |
 |
...new bottom piece... |
 |
 |
...and coaming. The red tape is to protect the
tube paintwork from being scratched. |
 |
 |
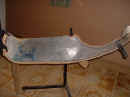
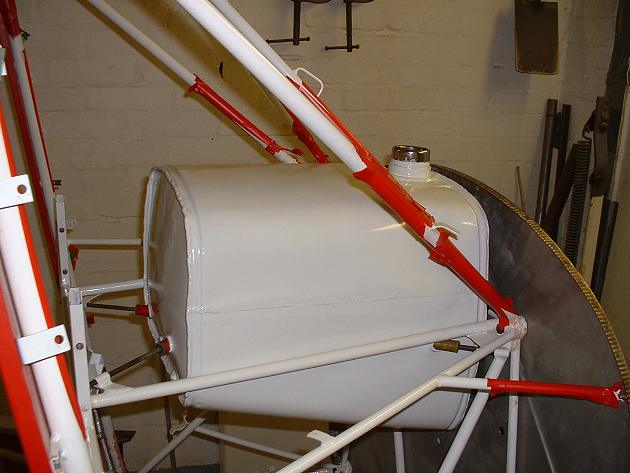
Fuel tank is temporarily installed to ensure
correct location of filler aperture. |
 |
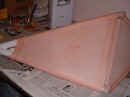
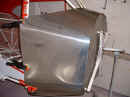
The finished article prior to riveting.
Some minor filling will be required after assembly to hide the occasional scratch and
dent. |
 |
The mating faces between sheets that will be
riveted together are pre-painted to minimise any chance of corrosion. These are
duffed up with red Scotch-Brite, etch primed and then epoxy primed. |
 |
 |
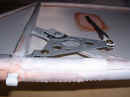
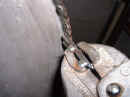
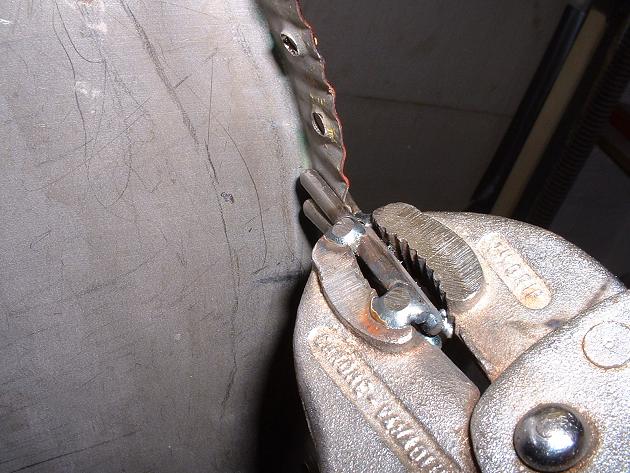
I have dimpled the firewall rivet holes to
permit the use of countersunk rivets. The dimple squeezer unfortunately caused some
areas of the firewall flange to go awry, so I made up my own fluting pliers to return the
flange to the correct alignment. Standard fluting pliers have too great a pitch.
1/8" Cherry Max structural rivets used. |
 |
  |
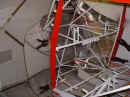
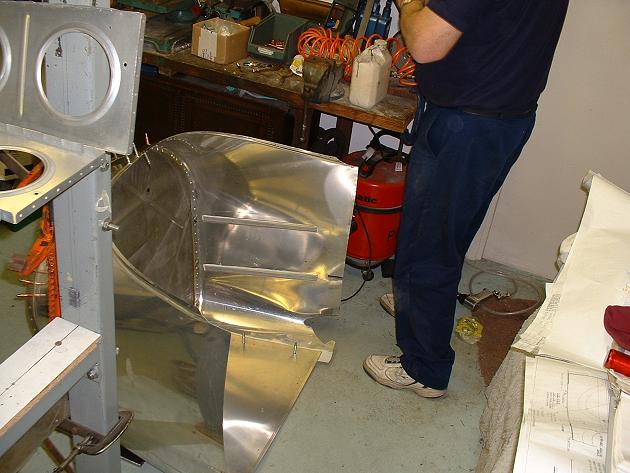
My flying partner John (RV6 builder, hence the
wing ribs) rivets up the stringers using 3/16 countersunk rivets. The stainless
firewall we attach using 1/8 Cherrymax structural countersunk pull rivets for convenience. |
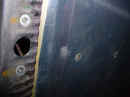 |
A detail of the firewall edge.
Countersunk rivets used...both on the firewall and along the cowl where the stiffeners
run.
Stainless Dzus springs from DD Aircraft, New Hampshire. |
 |
 |
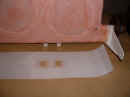
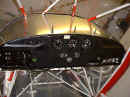
A dry run of fitting the replacement firewall
pad (Airtex Interiors). |
March 2004: Mostly spent working on
PX, recovering the stabilisers and repainting jury struts, etc.
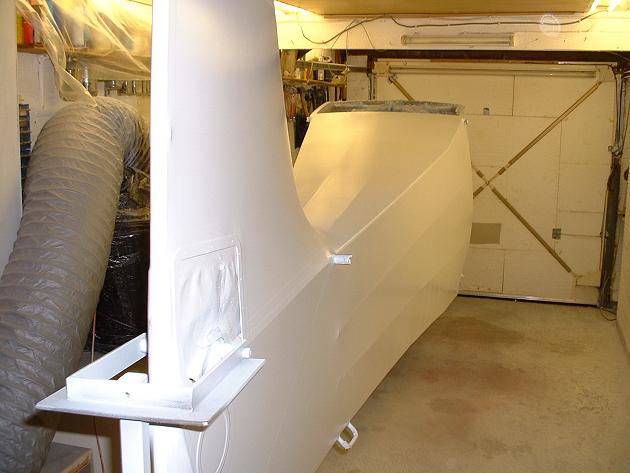
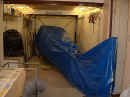 |
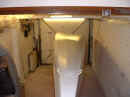
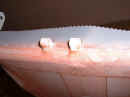
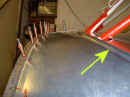
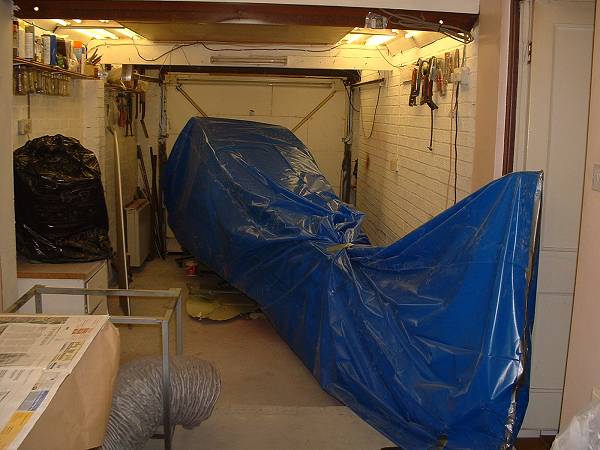
BREY covered up for spraying of PX components.
Large diameter grey hose on floor is extraction system. |
May 2004 (Much of March and April
spent doing repairs to Spare Taylorcraft and visiting Sun & Fun).
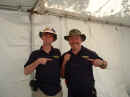 |
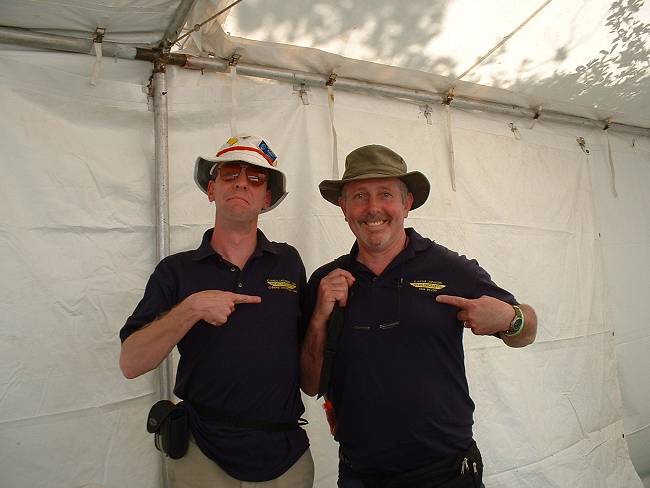
Tilley's Ahoy! Rob & Pete enjoy the
spring Sun & Fun sunshine... |
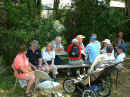 |
...and the Saturday Taylorcraft informal meet
at the Vintage Barn. |
 |
 |
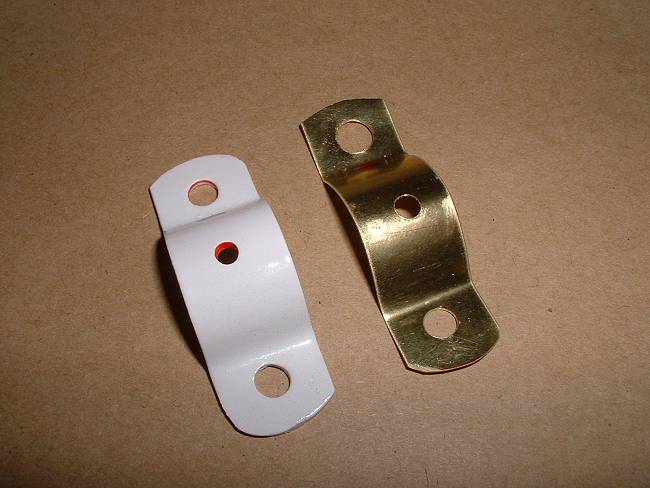
Making new brass wear shims for the rudder
bars.
0.010" brass shim stock used, from the local RC model shop. This
thickness easily conforms to the required shape. |
 |
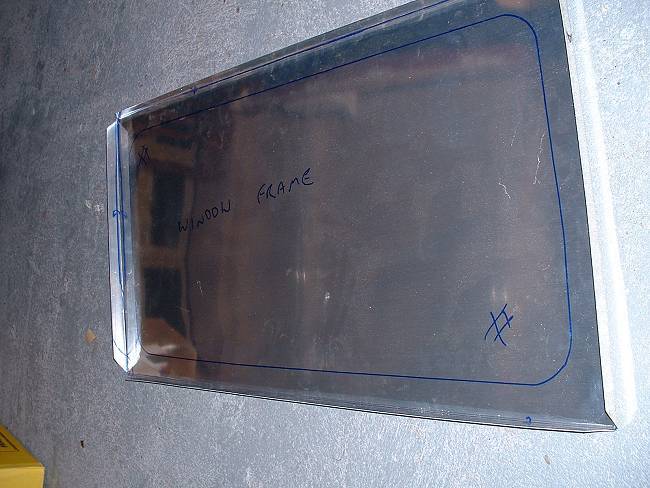
Making new interior window frame for one of the
metal doors.
0.025" 2024T3 material used.
I used the original frame to mark the new one out, it would be difficult to make
without. |
Go to page 1
2 3 4 5 6 7 8
Other
restoration photos
Taylorcraft.org.uk Home


