
All views below are for diagrammatic purposes only.


G-BREY
How I repaired the forward trim system
Click on the thumbnails to enlarge, use the browser's Back button to go back.
|
A general view of the complete assembly. A temporary wheel is in place instead of the crank handle. | ||
All views below are for diagrammatic purposes only. |
|||
|
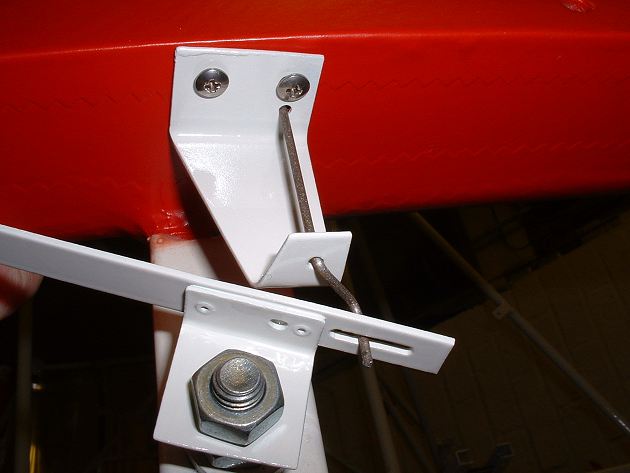
A close-up of the cabin side. The stainless wire has a reverse bend in it to create a turning motion in the wire as the arm is wound up-and-down by the thread. | |
The "L" shaped sheet metal bracket has a thread form in it that rides up and down on the screw. |
|
A view on the windshield side. | ||
|
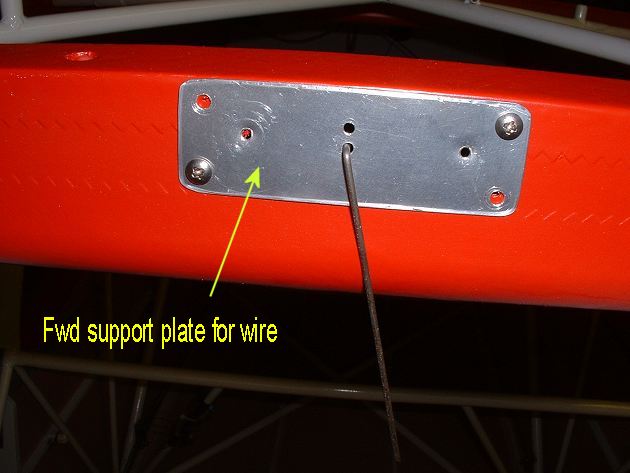
I use a plate to support the wire on the windshield side of the assembly... | ||
|
...and then the label plate screws on to this. | ||
|
View from the pilot's seat. I will cut the end off the wire later. | ||
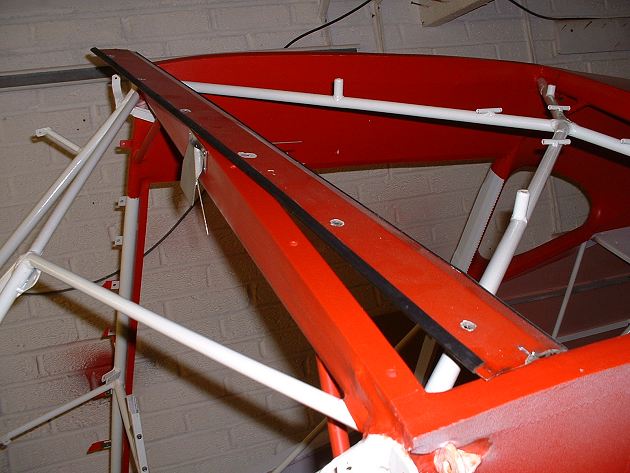 |
View of aluminium strip covering top edge of windshield. Edges protected with rubber channel. |
Click on the thumbnails to enlarge, use the browser's Back button to go back.