My Taylorcraft
restoration project, G-BREY
Page 6, March 2005 - Oct 2005
Go to page 1 2 3 4 5 6 7 8
by Robert Lees
Click on the thumbnails to
enlarge, use the browser's Back button to go back.
March 2005:
Wing work commences:
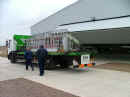 |
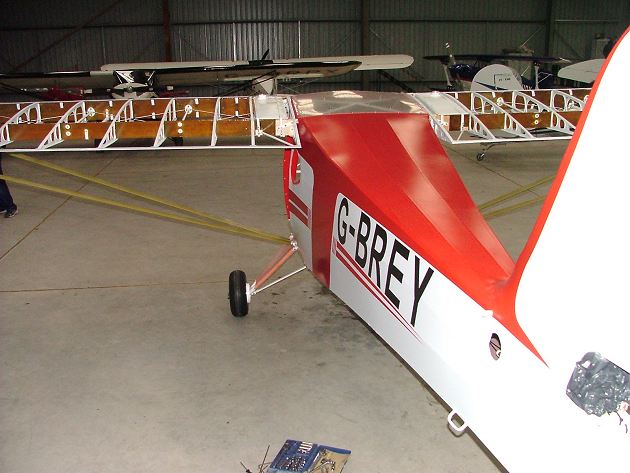
The wings and fuselage are
delivered to the airport to check the spar spacing and rigging. Both wings and
fuselage having undergone some major surgery, I was unwilling to take the risk of the
wings not fitting. It would be a lot easier to make any adjustments before covering.
I do not have the space at home to do this. |
 |
 |
In fact, with the help of many friends, the
wings almost fell on, with no further adjustment or trammelling required. The
diagonals (sternpost to wingtips) came out within ±
¼", so I was happy |
April 2005
 |
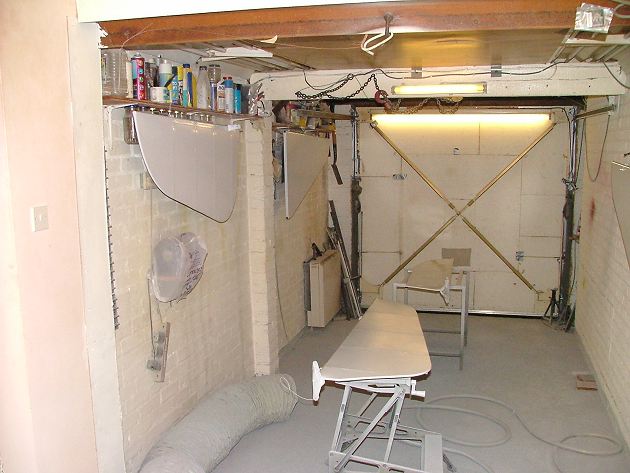
While the wings and fuselage are away for
rigging (and my garage is empty) I take the opportunity of the extra space to spray up the
tailfeathers.... |
 |
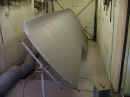
...and after the white for the stabilisers, I
need to revisit the fuselage... |
 |
...to get the red trim aligned with the fin
trim lines. |
 |
The port wing makes a reappearance in my
garage. Both wings, ailerons and the fuselage and tailfeathers have been
signed off by my beloved inspector Carl, so I can progress onto covering the wings. |
 |
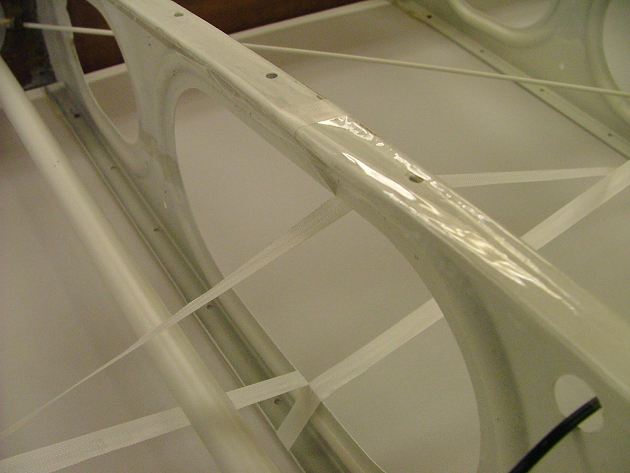
You may notice I am using rib bracing
tape...I'm not convinced of the benefits for the relatively rigid pressed-aluminium ribs,
but a consensus on the Taylorcraft forum was to use it.
I have also adopted an old Auster trick...that is, to use Selotape over the rib
caps to allow the fabric to "slide" over the ribs as it is shrunk. |
 |
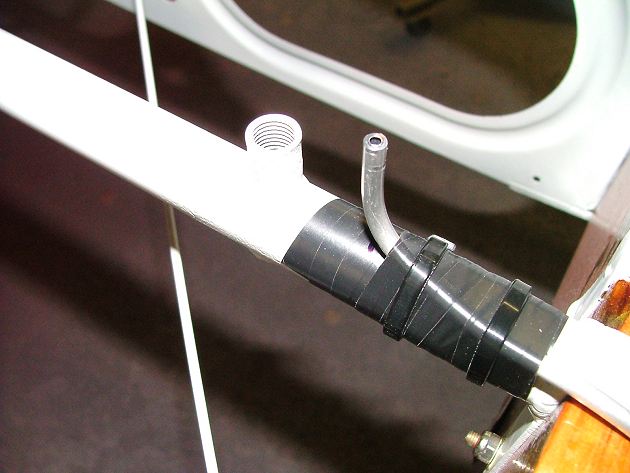
I make sure the pitot (and static) tubing is
installed before covering. Here I use black tape, and also some tie-wraps to secure.
Tie-wraps are known to fail after many years (because the plasticisers contained
evaporate out) so I make sure the tape is adequate. The tie-wraps are there as a
"back-up" during the fabricking process. |
 |
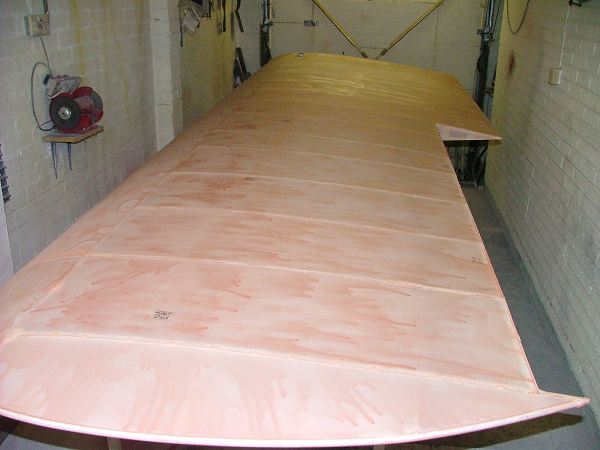
The wing covering and sealing (pink goo)
process goes relatively simply. It is important to shrink the areas of maximum
curvature first (i.e. above & below the main spar, and just aft of this area) so as to
minimise any "scalloping" of the fabric, which would happen if shrinking each
complete bay in turn. Thanks to Jim Miller ( www.AircraftTechnicalSupport.com ) for
the tip. |
 |
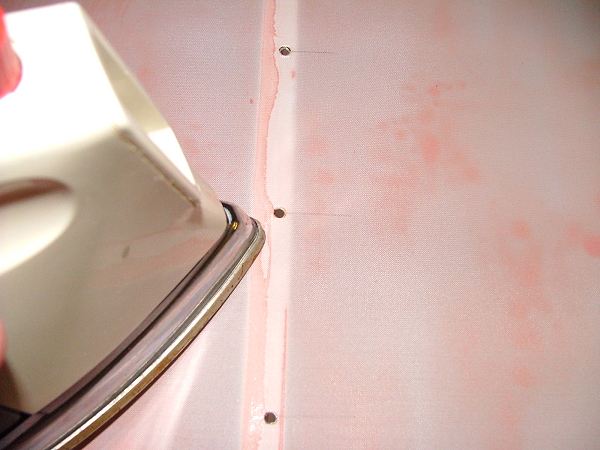
After the pink goo has dried, I run over it
with my iron set at 250 degrees. This gets rid of minor bumps, hairs and general
detritus that has settled into the wet surface. |
 |
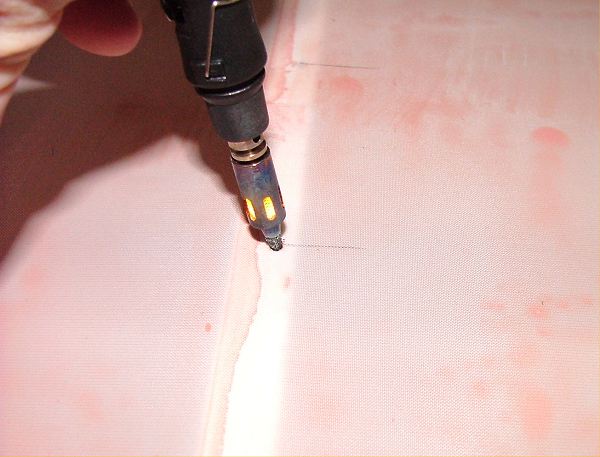
Opening out the clip holes with a soldering
iron... |
 |
...after which I smooth down the raised
edges... |
 |
...and lay the reinforcing tape and melt the
holes through that. |
 |
The clips get installed (barbs towards
the leading edge)... |
 |
...and here is the result. To install the
clips on both sides took me a total of two hours. Much quicker than lacing.
These are original Taylorcraft clips, not the newer Martin clips. |
 |
 |
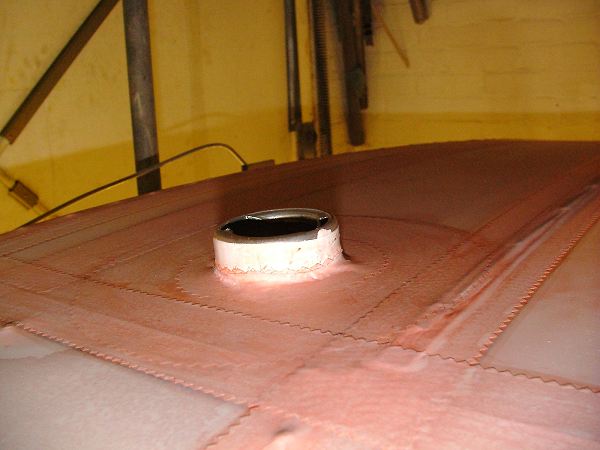
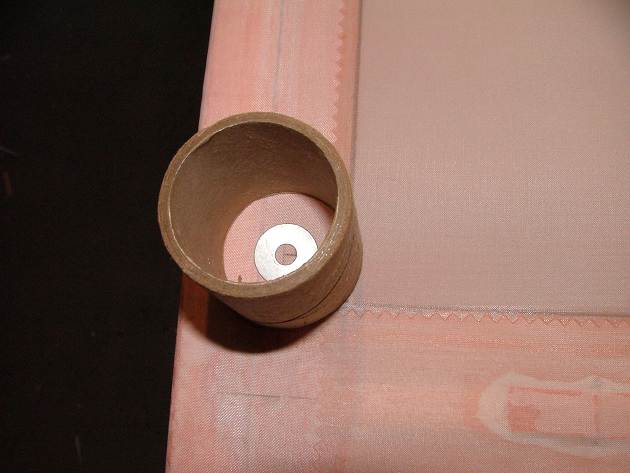
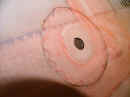
This ring is used to take the fabric tension
loads around the filler neck. It is important that the fabric is sealed around the
neck to prevent fuel getting inside the wing. |
 |
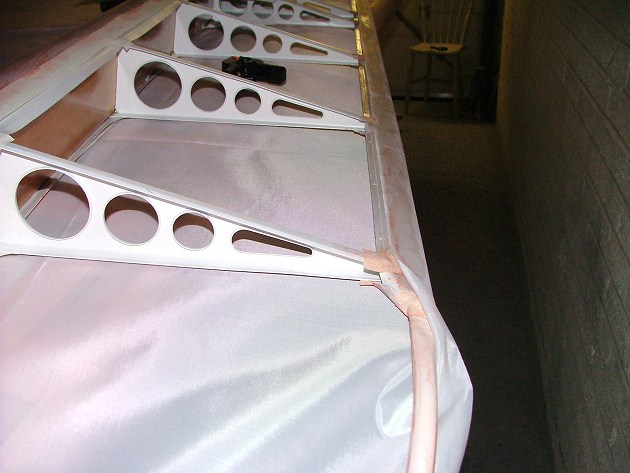
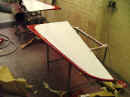
Taping. Chord-wise tapes go on first,
span wise after. Except for at the aileron cut-out...the chord-wise tapes go over
the span-wise tapes there.
The square wooden frame lying on the wing is for pre-shrinking lightweight fabric
from which I make the doilies. |
 |
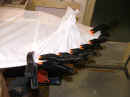 |
The aileron gets covered (using lots of clamps
around the tip)... |
 |
...and then a final check for alignment on the
wing. |
 |
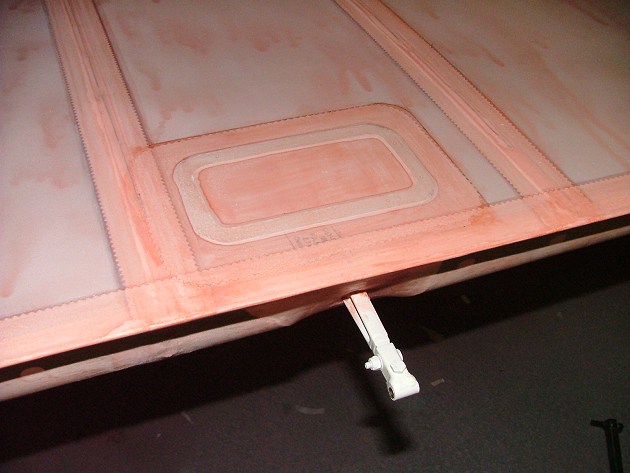
I add an inspection hatch on the upper surface
of the wing. Not absolutely necessary, and I hope I never have to cut it out, but it
is there for access to the aileron bellcrank if required. |
 |
 |
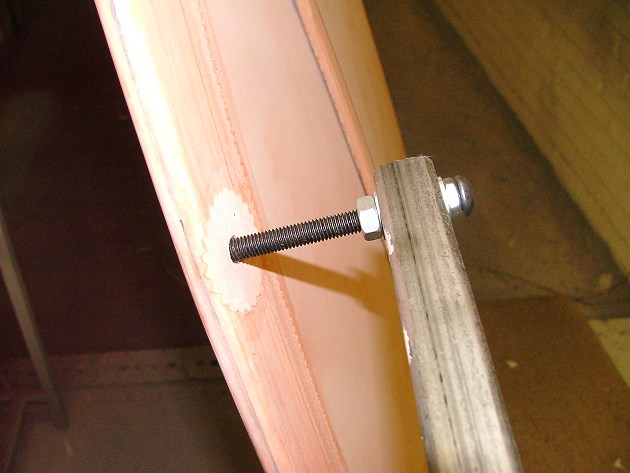
I finish off my wing rotating jig. The
jig screws into threaded inserts on the wingtip bow. |
 |
 |
 |
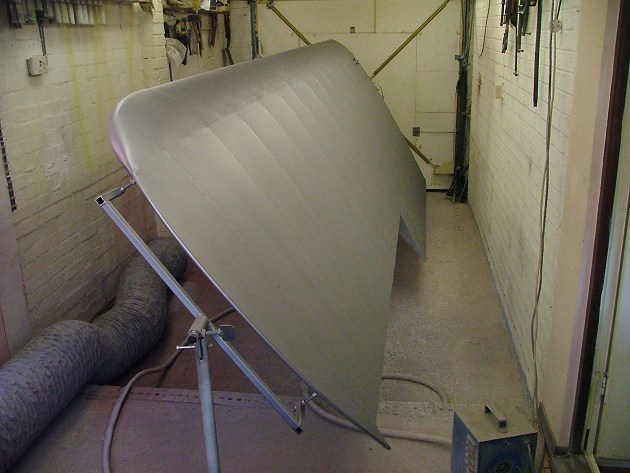
Two spray coats of Poly-Brush... |
 |
...and then silver coats. |
June 2005
 |
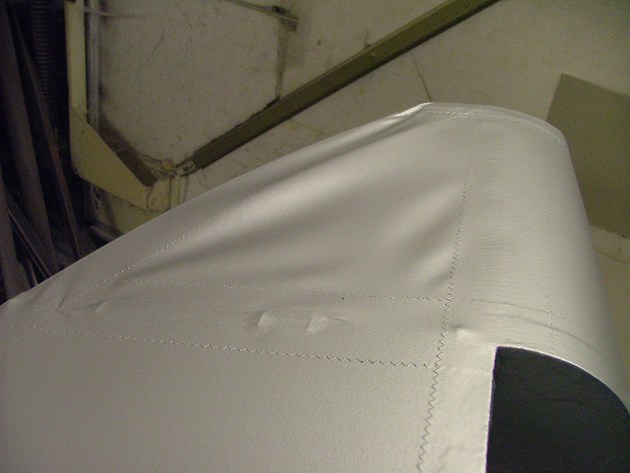
After three cross-coats of silver (and wet
sanding the first two coats), I spray white.
Although this photo shows the top surface (which will be red), I spray an undercoat
of white first. The underside will be all white. |
 |
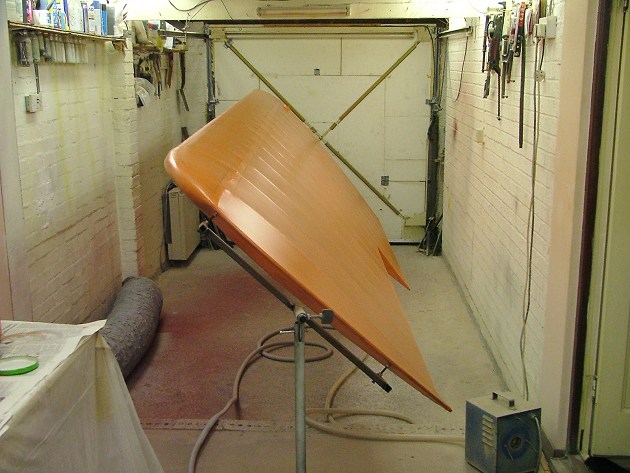
After masking off, a mist coat of red... |
 |
 |
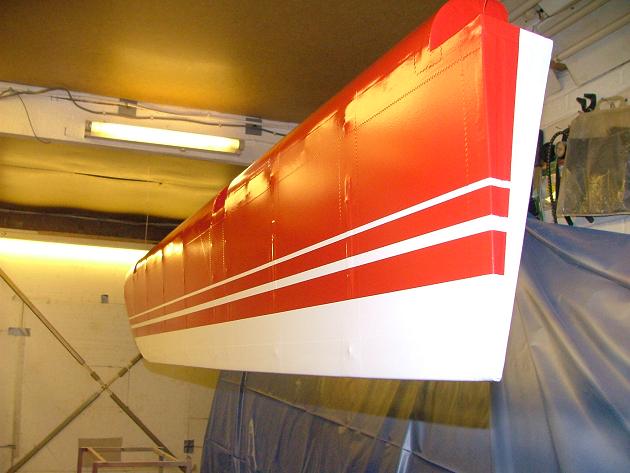
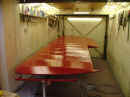
Followed by two full coats of red see the wing
in her true colours. Only the under-wing registration marks to do now. |
 |
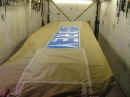 |
A spray mask for the registration letters is
applied... |
 |
...and a light mist coat is sprayed. |
 |
After a full coat, the masking is removed to
reveal the now completed wing. |
July 2005
 |
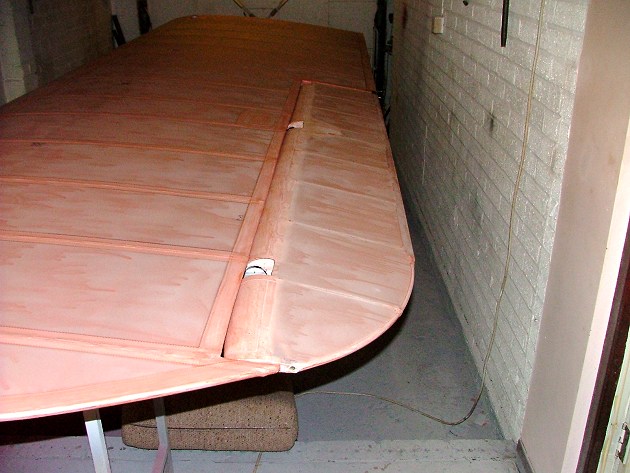
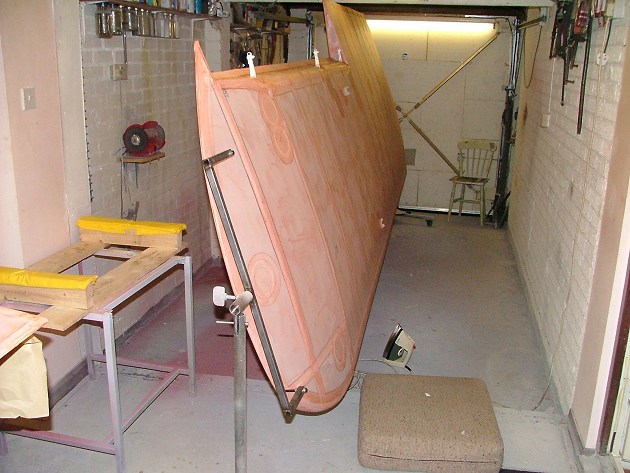
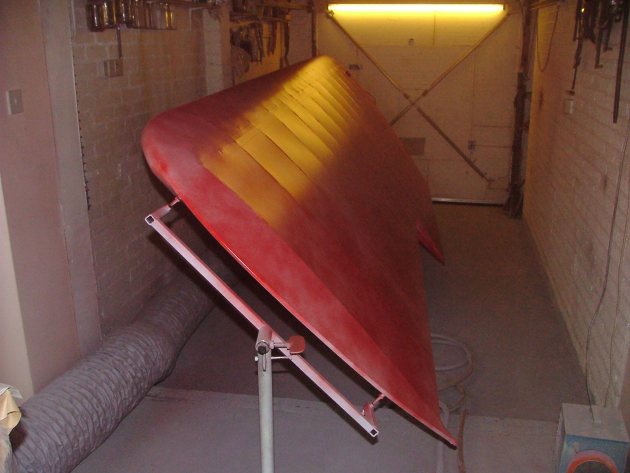
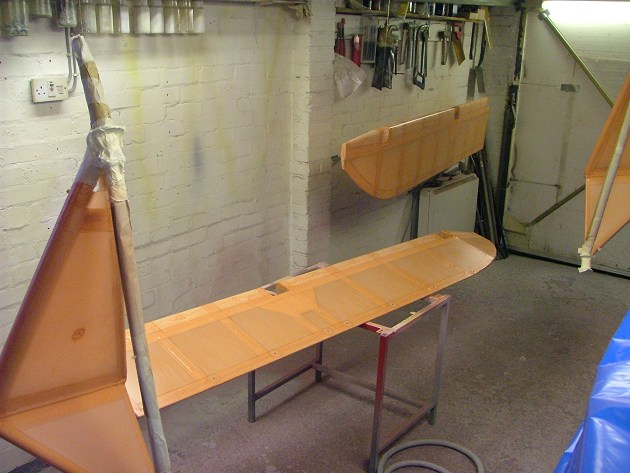
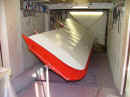
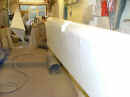
The next wing is prepared for covering.
One of the things very noticeable is a "set" in the wing, after nearly 60 years
of washout in each wing.
Here, the wing tip lays on a trestle...but the root is free to rotate on my
"rotisserie", and both wings like to settle with the wash-out set into the
shape.
I can lock the root, which is what I do during the covering process. |
August-Sept 2005
Much of the time since July has been spent recovering the
other wing (so not a lot to report). However, a few things of note that I should
have posted before:
 |
I used a chalk-line to "snap" the
edges of the taping areas. |
 |
Excess chalk is first brushed off, then any
remainder removed using a tack-rag. |
 |
To get the correct length of rib wire, I stick
the free end in a "start" hole, and unreel to the "finish" hole on all
the ribs. |
 |
I use the cardboard centre from a reel of
reinforcing tape to mark the reinforcing "dollar patches" that go over the drain
grommets. |
 |
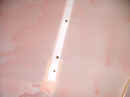
To make a neat drain hole, roughly cut out the
1/4" inner fabric (I use a scalpel), and then burn the excess with a small-tipped
soldering iron.. .. |
 |
.. ..then use the scalpel again to trim off the
black built-up edge. |
Ailerons:
 |
Spraying of the two gear legs and two aileron
progresses well through the "pink goo" stage until... |
 |
...during the first coat of silver, I drop the
one of the ailerons on to the tip bow. Ho-hum, repair required. |
 |
Repairs complete, the ailerons (& gear
legs) get further sanding coats, and then the white treatment... |
 |
...and after masking, a dust coat of red.
[Note the original aileron skin on the floor, used to get the same masking tape
positions] |
 |
A couple of wet coats see the ailerons in full
two-tone colour. |
October 2005
 |
The other wing is finished.
That's all the fabric work done now. |
Go to page 1
2 3 4 5 6 7 8
A tally of my hours spent restoring is available here
Other restoration photos
Nosebowl Grille fitting
problems.
Taylorcraft.org.uk Home