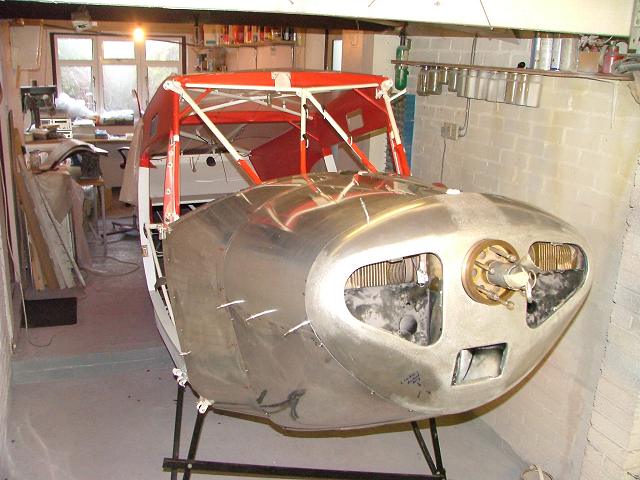
My Taylorcraft
restoration project, G-BREY
by Robert Lees
Cowls
Bootcowl
Nosebowl & Lower Cowl
Top Cowls
Completion of Cowls
Contaminated Paint
Bootcowl
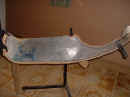 |
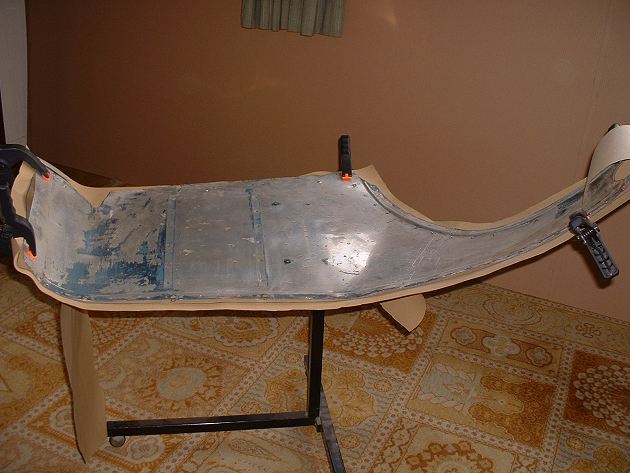
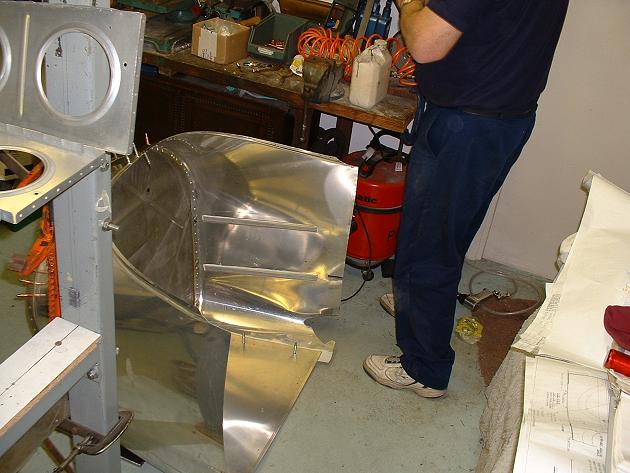
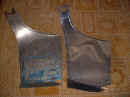
I make paper patterns of the boot cowl
pieces... |
 |
...to form new pieces from 0.025" 2024T3
sheet. |
 |
 |
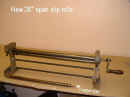 |
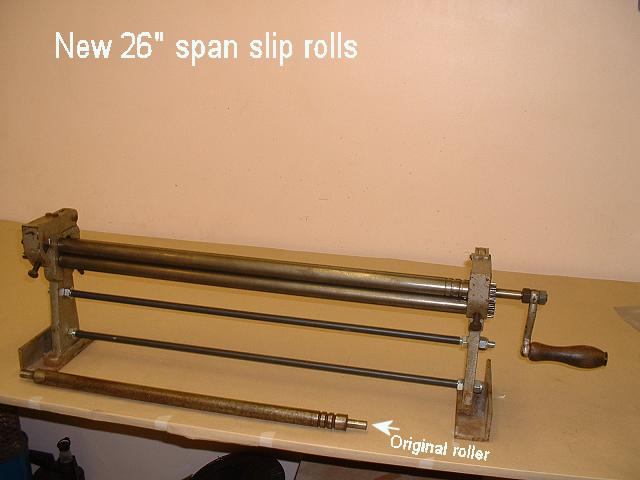
I use my extended slip rolls to form the
curves. I will also be using these to form the joggles & beads at the firewall
& windscreen respectively. |
 |
Here's the dies being used to form the firewall
joggle on the bootcowl... |
 |
...and the finished joggle ready for riveting. |
 |
 |
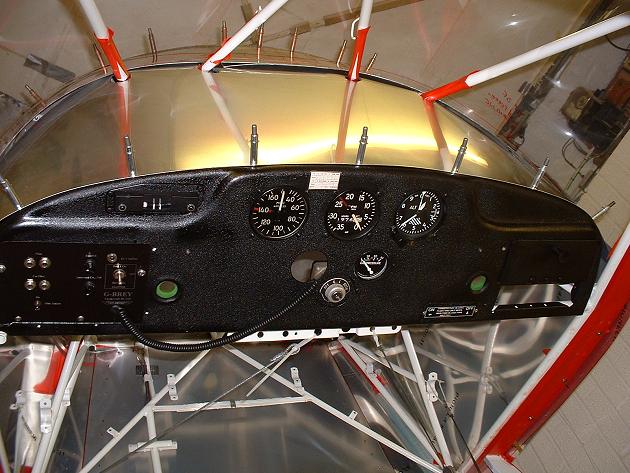
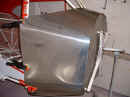
After clecoing up, a trial fit of the screen
and fillet strip goes relatively well...but still a bit of fettling to do. |
 |
Windscreen bead completed... |
 |
...new bottom piece... |
 |
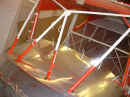 |
...and coaming. The red tape is to protect the
tube paintwork from being scratched. |
 |
 |
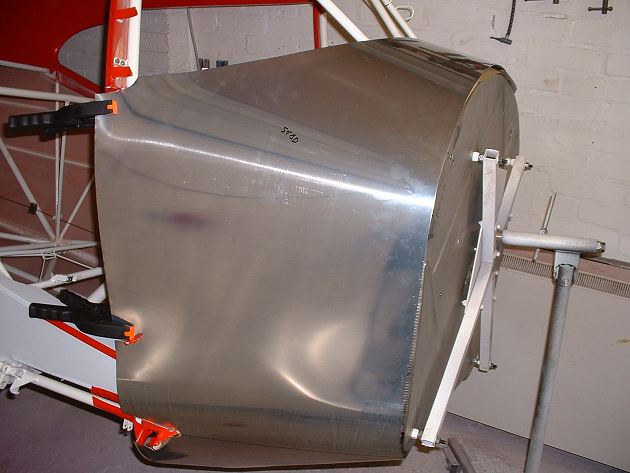
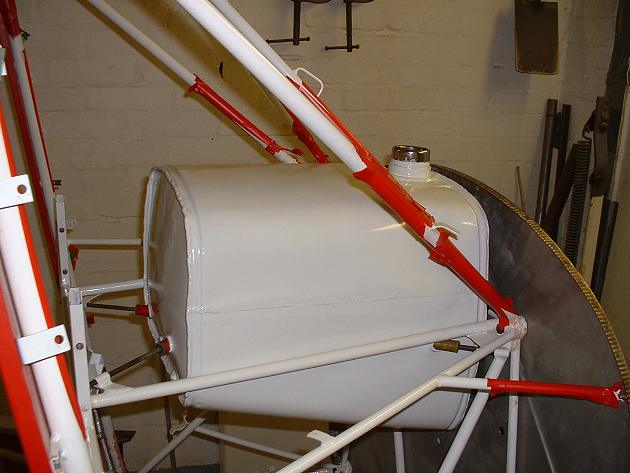
Fuel tank is temporarily installed to ensure
correct location of filler aperture. |
 |
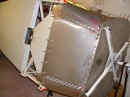
The finished article prior to riveting. |
 |
The mating faces between sheets that will be
riveted together are pre-painted to minimise any chance of corrosion. These are
duffed up with red Scotch-Brite, etch primed and then epoxy primed. |
 |
 |
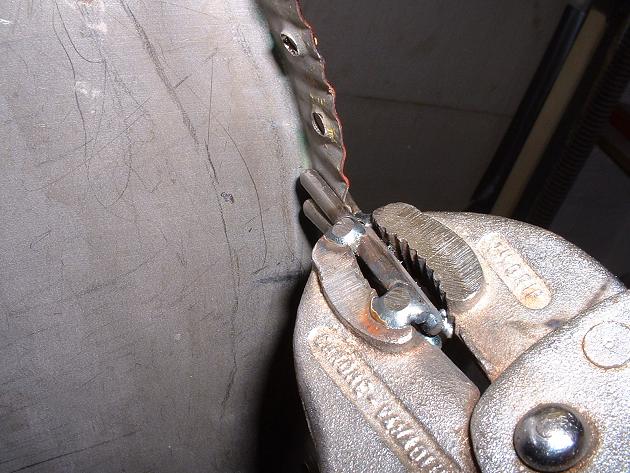
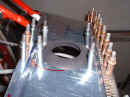
I have dimpled the firewall rivet holes to
permit the use of countersunk rivets. The dimple squeezer unfortunately caused some
areas of the firewall flange to go awry, so I made up my own fluting pliers to return the
flange to the correct alignment. Standard fluting pliers have too great a pitch.
1/8" Cherry Max structural rivets used. |
 |
  |
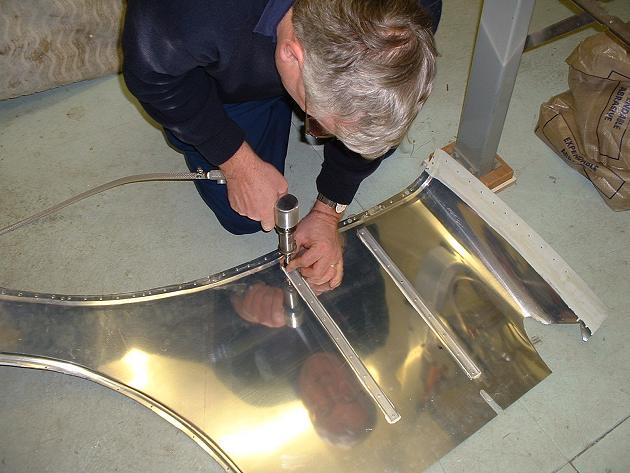
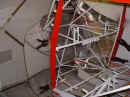
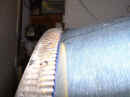
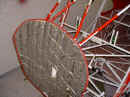
My flying partner John (RV6 builder, hence the
wing ribs) rivets up the stringers using 3/16 countersunk rivets. The stainless
firewall we attach using 1/8 Cherrymax structural countersunk pull-rivets for convenience. |
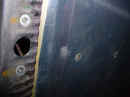 |
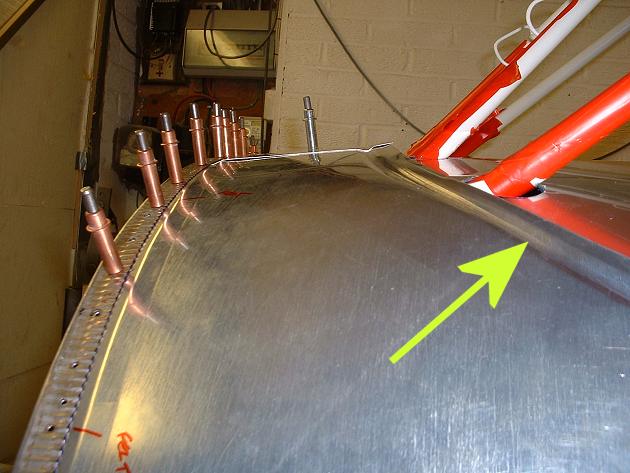
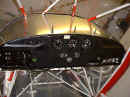
A detail of the firewall edge.
Countersunk rivets used...both on the firewall and along the cowl where the stiffeners
run.
Stainless Dzus springs from D&D Aircraft, New Hampshire. |
 |
 |
A dry run of fitting the replacement firewall
pad (Airtex Interiors). |
Nosebowl
& Lower Cowl:
 |
 |
 |
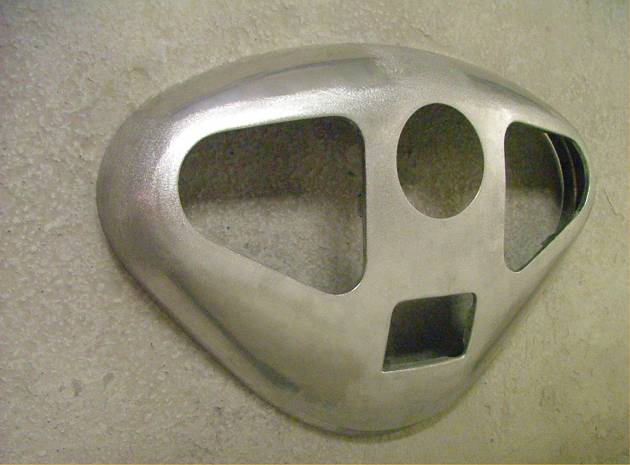
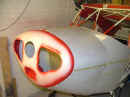
I have conducted cheque-book aviation, and had a new
nosebowl and lower cowl made by the local panel-beating shop. 16 gauge aluminium
(thicker and stronger than original). Grilles from Aircraft Spruce.
See Nosebowl
Grille fitting problems for why a new nosebowl is required.
The lower cowl is 2" oversize all round, so that I can do the final fit &
fettling in situ and get all the holes etc in the right place. |
 |
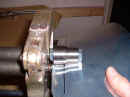
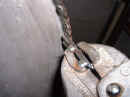
To fit the new nosebowl concentric to the prop
flange, I have made a collar to fit snugly between the two.
OD is 6" to fit inside the nosebowl hole, ID is 5.18" to fit snugly over
the prop flange. |
 |
|
I have had the lower bootcowl made deliberately
oversize, so that I can incrementally trim it to fit in situ. |
 |
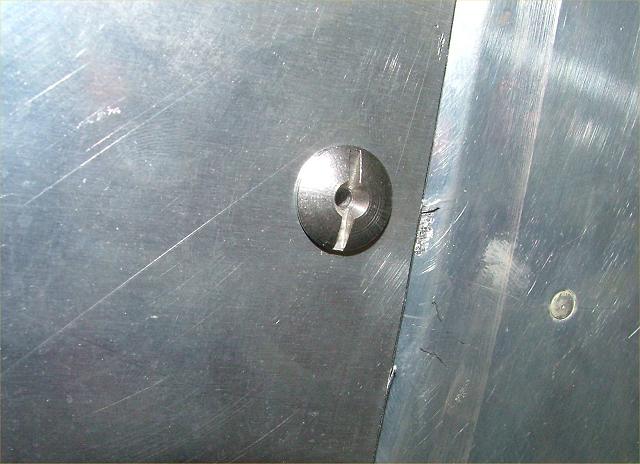
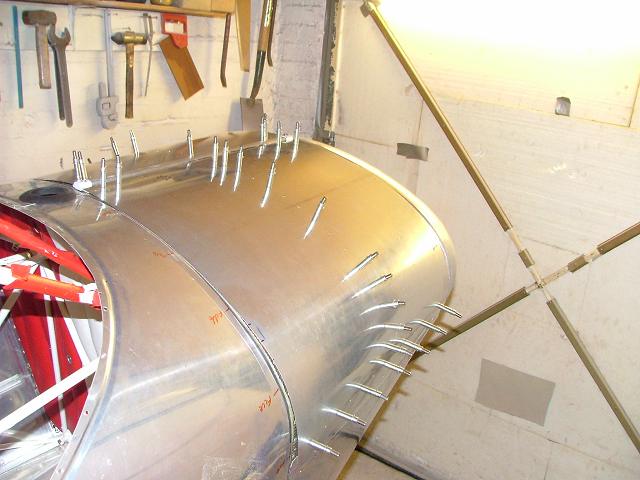
I use Cleco's to hold the parts
together...these holes will become holes for the Dzus fasteners. |
 |
I have had new stainless Dzus fasteners
modified by drilling through... |
 |
..so that a tool with a pin will prevent the
scratching of the paint. |
 |
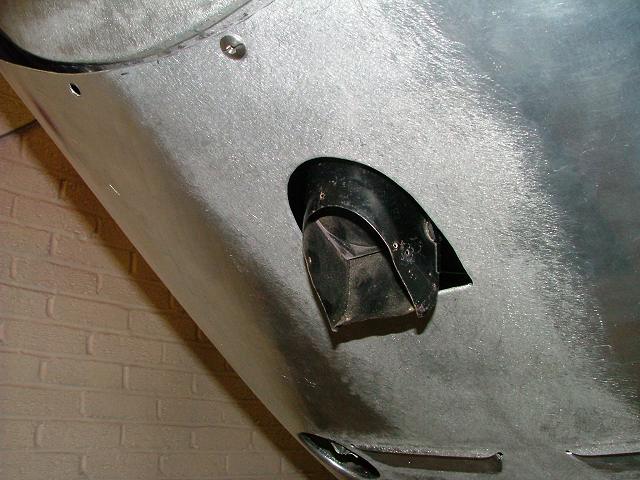
An aperture is cut for the exhaust... |
 |
...and for the air intake. |
 |
New skills are learnt; here I folded the cut
edges over to make a little bit of reinforcing. |
 |
On the lower cowl, I make new stainless
reinforcing patches for the four corners
(the shrinking tool helps get the curve in the folded edge... |
 |
...I do similar for the two lowest Dzus
fastener reinforcing patches. All of these stainless patches are flush-riveted on. |
 |
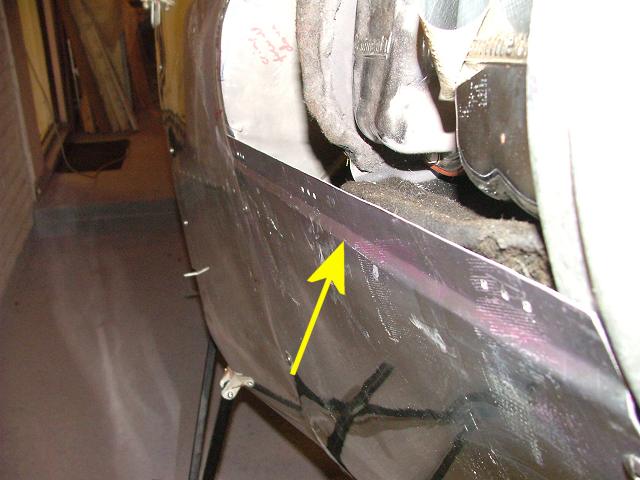
Using the original cowl as a pattern, I joggle
the lower cowl to take the thickness of the top cowl to provide a flush finish. The
stainless firewall has a recess to allow this. |
 |
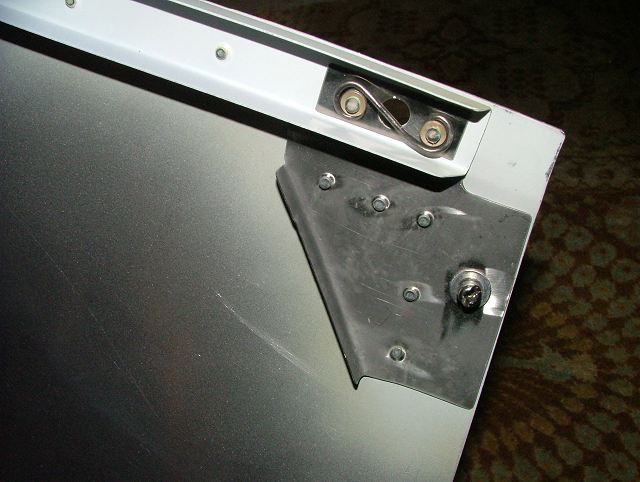
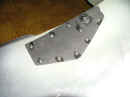
Reinforcing the nosebowl where the top hinge
meets, I use some stainless plate. There are three screws which attach the front
hinge where the 1/8 clecos are; I will open the holes out later. |
Top Cowls:
 |
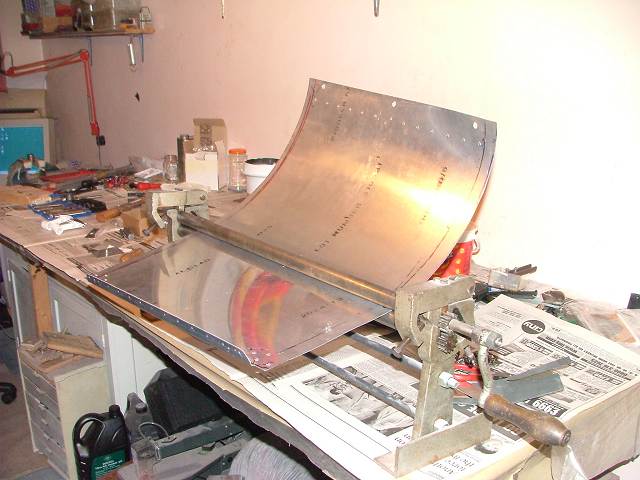
After much fettling, I can start to look at the
top cowls...I use my slip rolls to get the sheet to conform to the curve. |
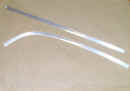 |
I use my shrinker to bend some aluminium angle
to the shape of the top cowls. (This is the stringer in the middle of the top cowl). |
 |
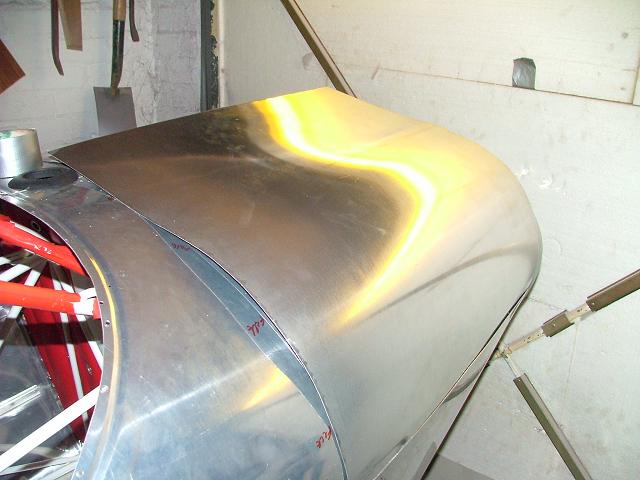
I roll new top cowls using my slip rolls.
Final trimming will be done in situ. |
 |
On the new top cowls, I add an additional
stringer at right angles to the original. |
 |
This will hopefully reduce the twisting of the
originals.
Again, all are flush riveted. |
 |
I make new stainless patches for the new top
cowls (why all of these were stainless is, I can only assume, to keep thickness to a
minimum for a given strength). |
 |
After alodining all components of all the cowls
(except the stainless ones), I wet-rivet them up, then prime with etch prime.
Here is the two-pack epoxy straight on top of the etch prime. |
Completion of Cowls:
 |
As I progress, with constant trimming, things
start to look good. I use duct tape to hold things until I drill the Cleco holes. |
 |
The Cleco's mark where the Dzus fasteners will
go. I will drill these out as one of the last operations. Note also I am
leaving the bronze ring around the prop flange during the whole process, so that I can be
as sure as possible of correct alignment to the crank. |
 |
All in all, the progress is satisfying. |
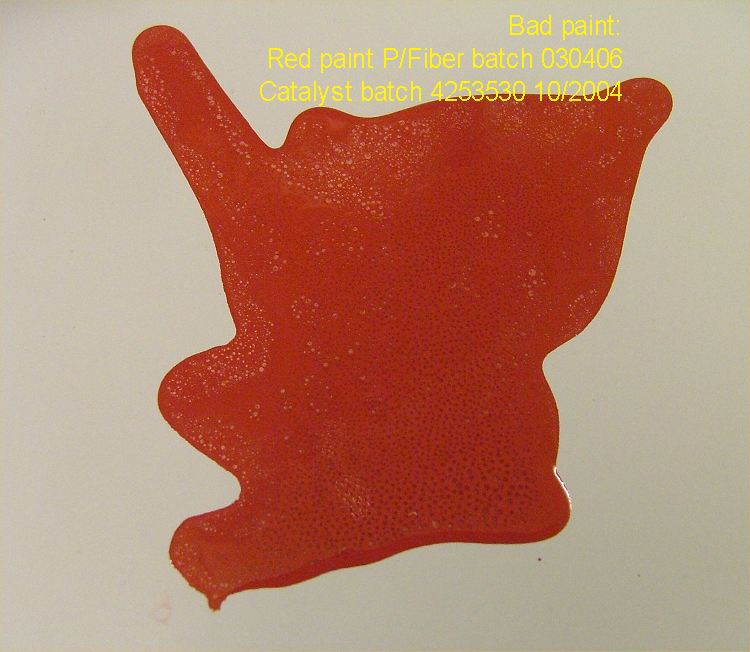
Contaminated Paint
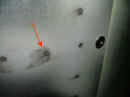
After priming all the cowling elements, I encounter some
contaminated paint, unfortunately after I had sprayed the cowls.
 |
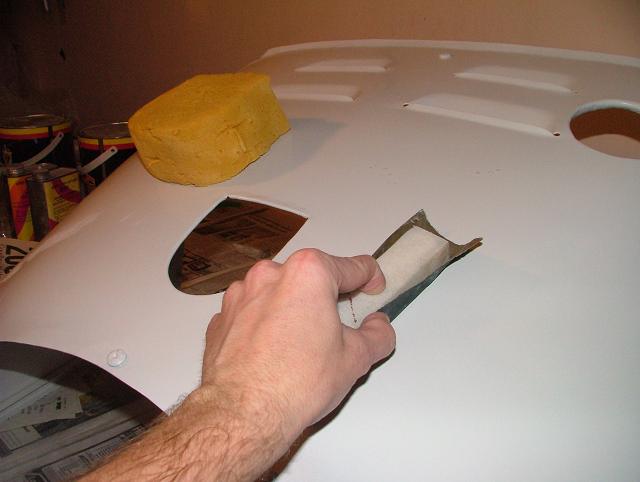
All of the flush rivets were treated with a
quick dab of "knifing putty" to seal the little circle of gap between the rivet
and the skins; the excess gets sanded off.
If this is not done, then the paint will not stick to the very sharp edge of the
rivet head.
I used JB Weld, a well-known Aviation two-pack epoxy product. |
 |
 |
 |
 |
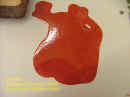
The photos are self-explanatory,
and are of samples I did after I discovered the problem. Of fours tins of two
different colours, purchased from two different suppliers at two different times, two tins
of red and one of white were contaminated. |
 |
The paint appeared to curdle, and would not
cure correctly. Fingerprints would remain in the soft surface, even after seven
days. I have no choice but to laboriously wet-sand to remove the film on most of the
components. |
Poly-Fiber did replace the defective product, and also
supplied materials necessary to get back to where I was. They however refused my
invitation to compensate me for the additional hours I needed to spend correcting the
situation. The UK agent, Tony Young, acted very admirably with his assistance,
however, and I cannot fault his customer service.
But the experience has severely dented my confidence in
their product, and in the factory quality control methods.
 |
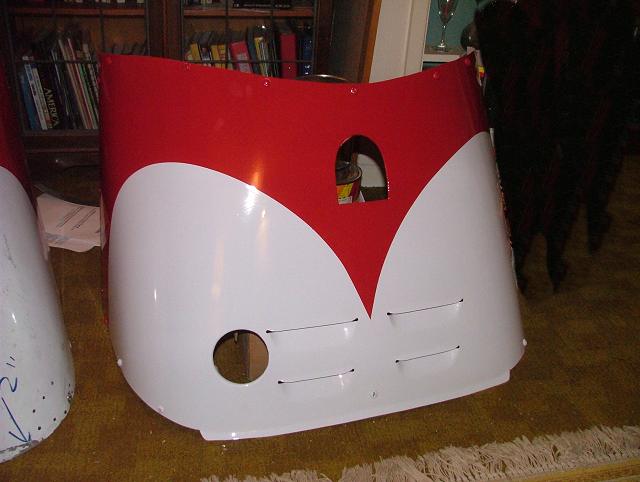
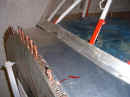
I eventually get the white gloss completed, and
mask off to paint the red. |
 |
 |
 |
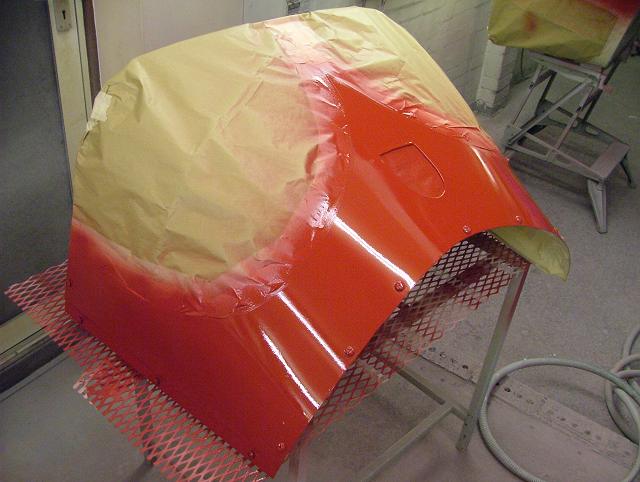
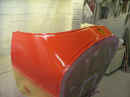
Red top coat. After the last
coat of paint, I spray a very thinned down coat, mostly thinners, to increase the gloss
level, but one must be very wary of runs! |
 |
 |
 |
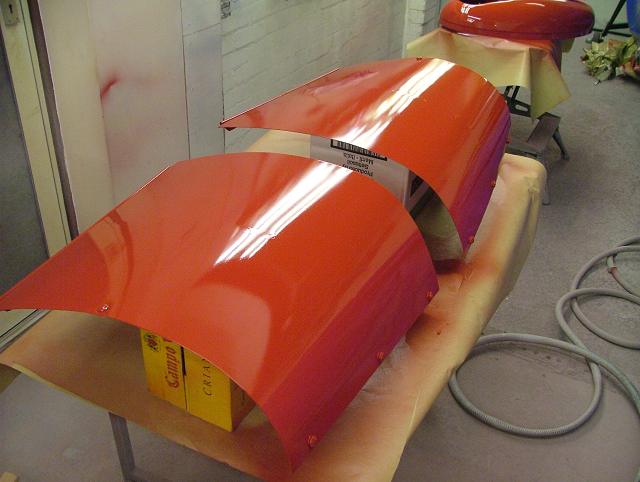
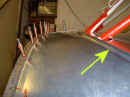
After removal of the masking, the
effect is very pleasing. |
 |
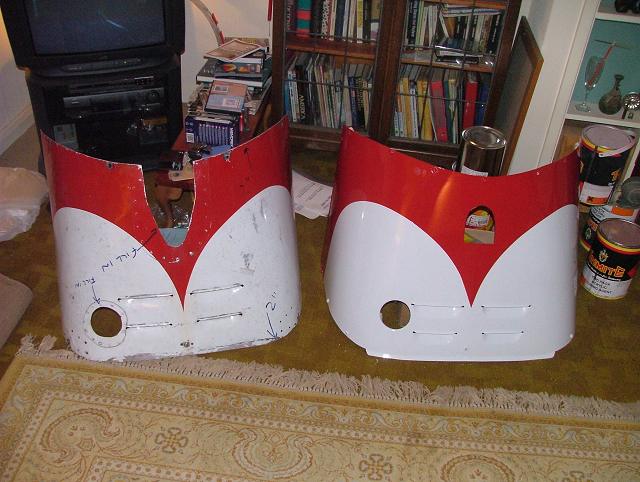
The old and new lower cowls side-by-side. |
Taylorcraft.org.uk Home
Fuselage structural work
Fuselage Fabric
Wing Structural work
Wing Fabric
Ailerons
Cowls
Tailfeathers & Gear Legs
Doors Control Column & Panel
Final Assembly
Other
restoration photos
Tools used